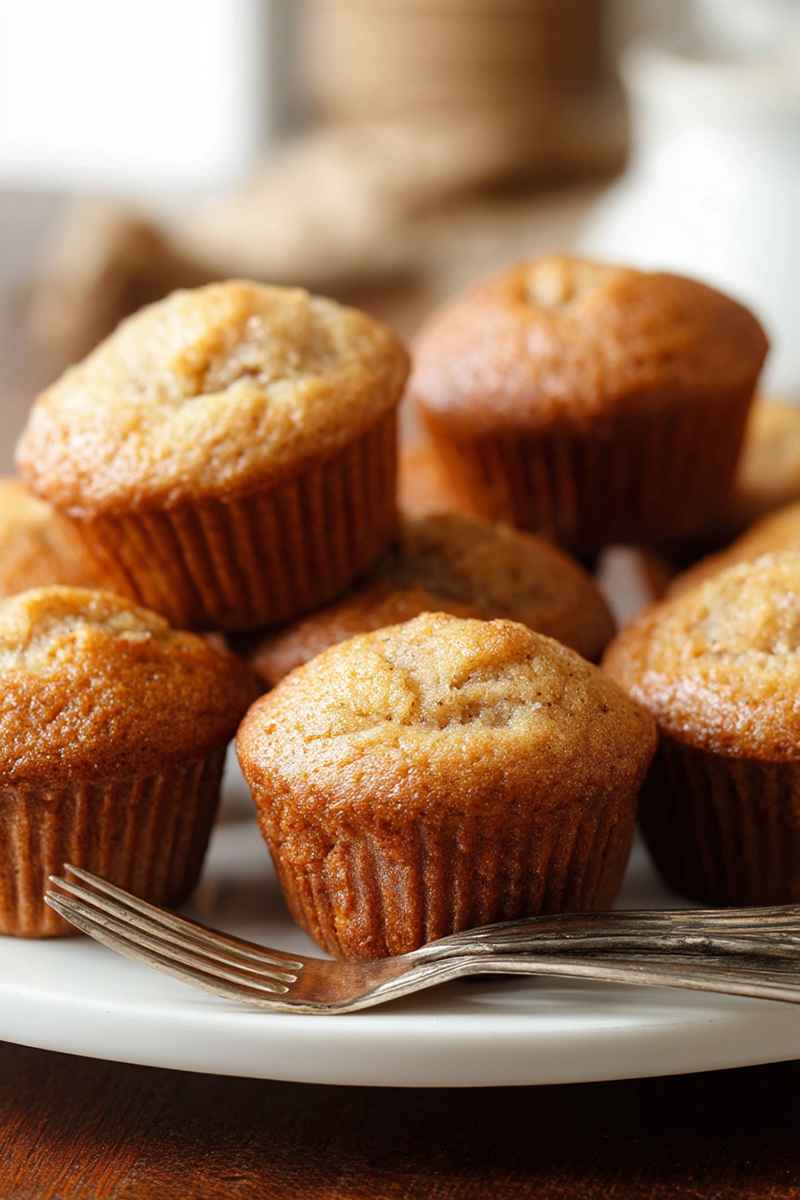
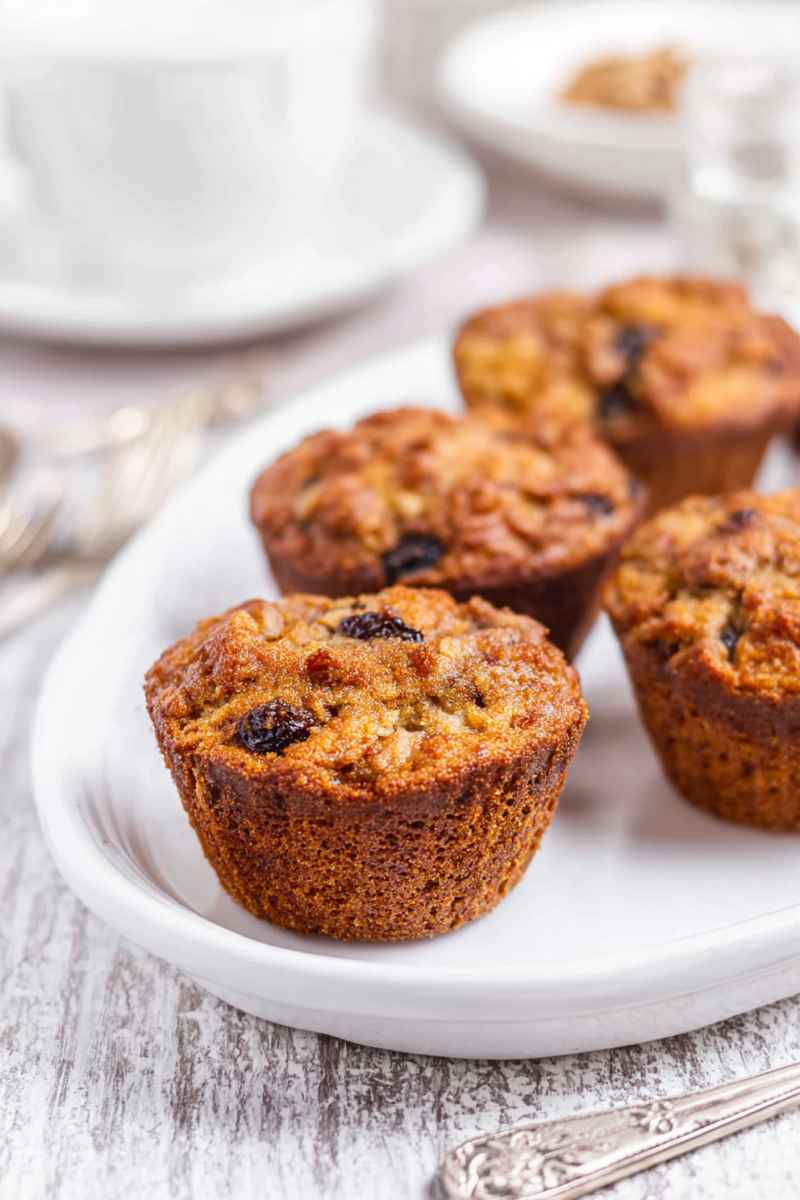
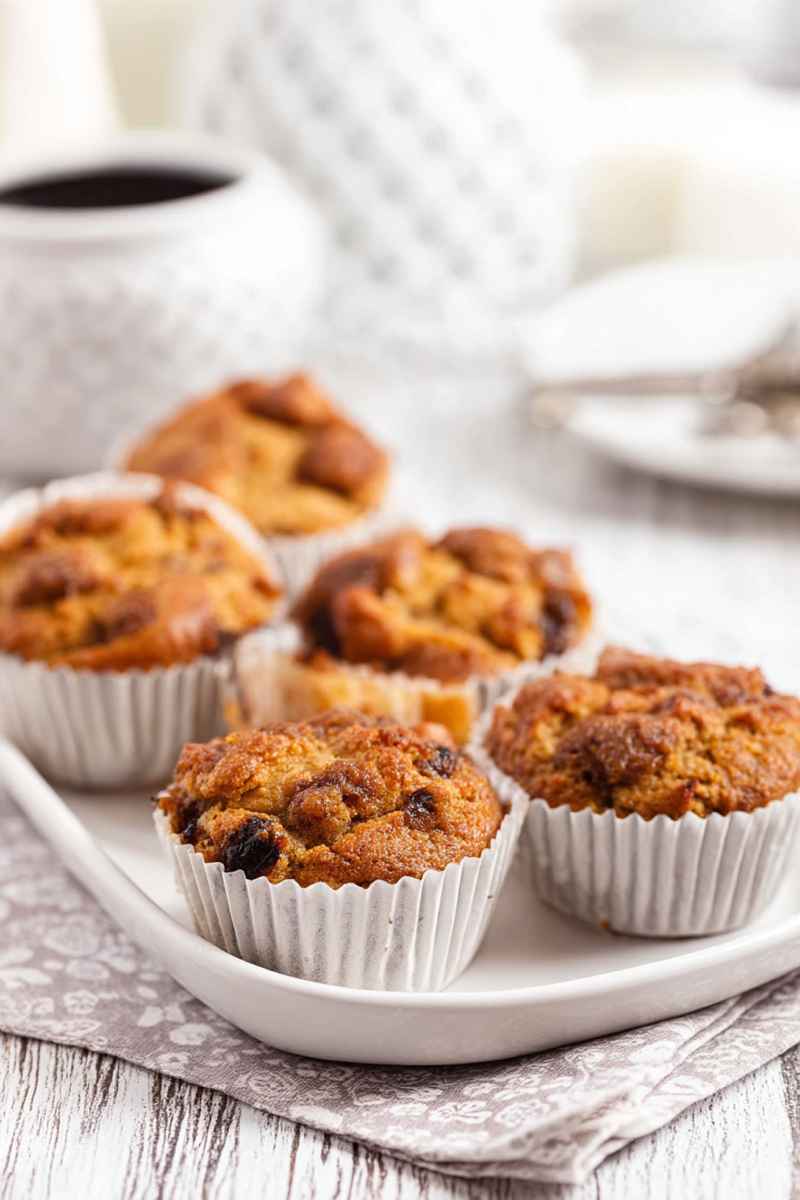
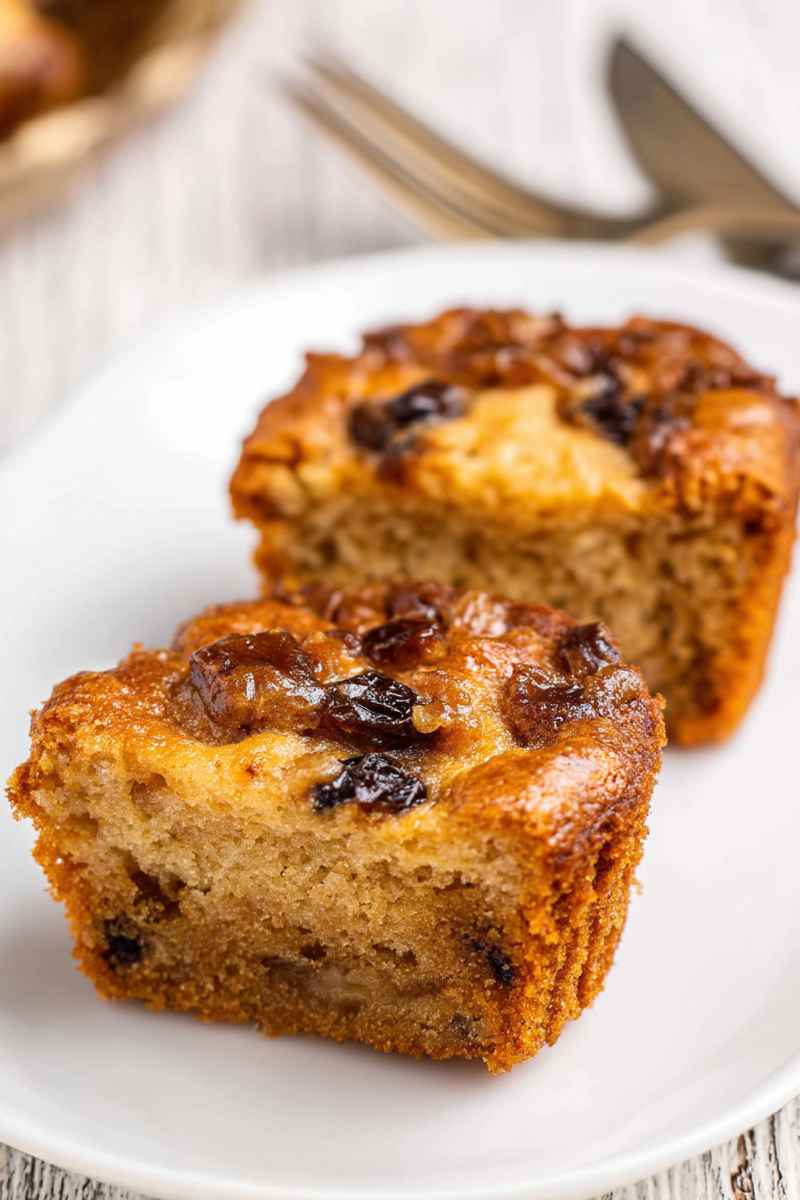
Imagine the sweet, gooey goodness of a classic Canadian butter tart baked into a soft, tender muffin. I simply had to try transforming that beloved flavor into an easy-to-make muffin format and the results were truly irresistible. These delightful treats offer the perfect blend of tender cake and that signature rich, sweet filling studded with raisins, giving you all the joy of a butter tart without the pastry fuss. They are wonderfully quick to prepare, making them an ideal choice for a weekend baking project or a special breakfast treat.
Why These Muffins Are a Must Try
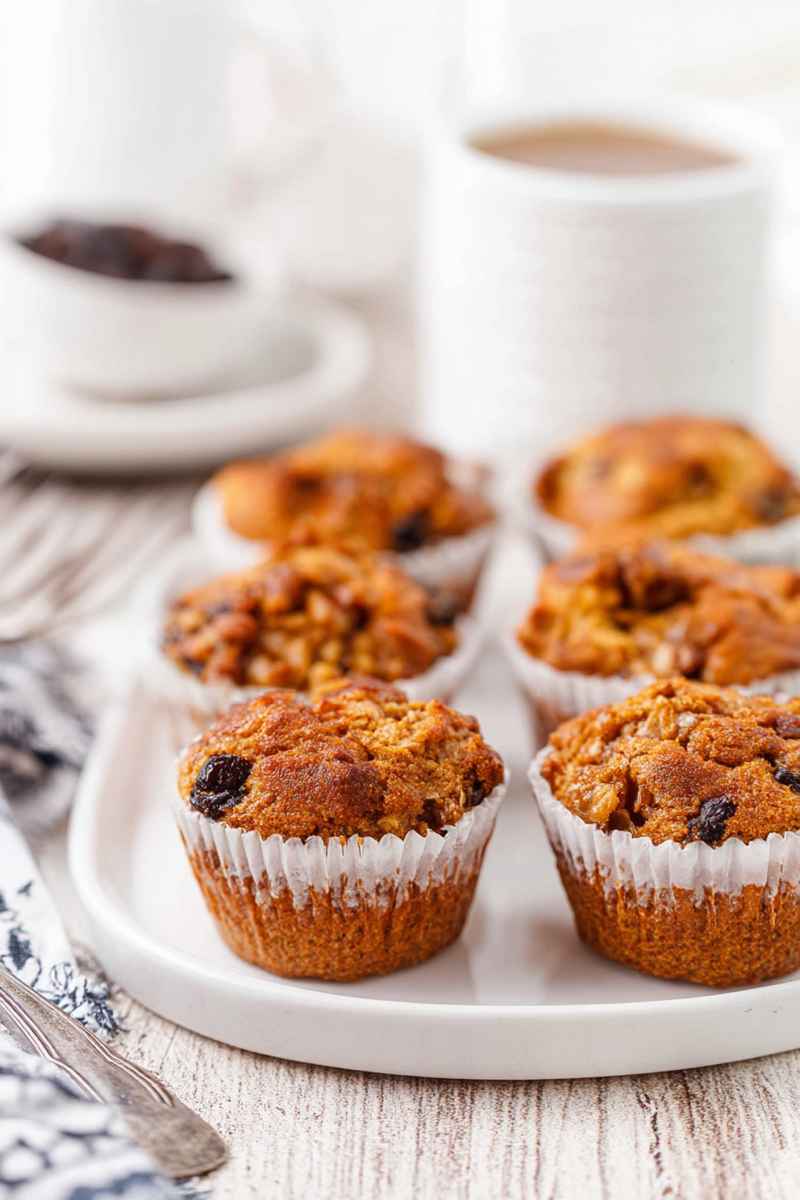
If you adore the taste of butter tarts but find making the pastry a bit daunting, this muffin recipe is absolutely for you. It captures that unmistakable flavor profile in a much more approachable way. You likely have most of the ingredients needed already waiting in your pantry. These muffins are versatile enough to grace a holiday dessert table, be served at brunch, or simply enjoyed as a sweet start to your day. They truly deliver that comforting, familiar butter tart experience.
What Ingredients You Will Need
Gathering your ingredients is the first step to making these delightful muffins. You will need a few simple items that come together to create that iconic butter tart taste.
- Raisins
- Granulated sugar
- Salted butter
- Large eggs
- Milk
- Vanilla extract
- All purpose flour
- Baking powder
- Baking soda
- Chopped walnuts
- Maple syrup
- Salt
How To Make These Butter Tart Muffins
Making these muffins is a straightforward process. You start by creating a rich, sweet base on the stovetop and then combine it with the dry ingredients before baking.
Step One: Combine the sugar, raisins, butter, eggs, milk, and vanilla extract in a medium sized pot on your stove. Place the pot over medium heat. Cook this mixture, stirring it constantly. Keep stirring until the mixture thickens and begins to show bubbles. Once it reaches this point, take the pot off the heat. Leave it uncovered and place it in the fridge to allow the mixture to cool down thoroughly.
Step Two: Get your oven ready by preheating it to 375 degrees Fahrenheit (190 degrees Celsius). Prepare a standard muffin pan by adding paper or silicone liners to each cup. Set the prepared pan aside for when your batter is ready.
Step Three: In a separate large mixing bowl, stir together the all purpose flour, baking soda, and baking powder. Add the salt to this dry mixture as well. Create a space or well right in the center of the dry ingredients. Pour the cooled raisin mixture from the pot into this well. Carefully stir everything together until the ingredients are just combined. Be careful not to overmix the batter. Next, add the chopped walnuts to the bowl and gently mix them in as well, distributing them throughout the batter.
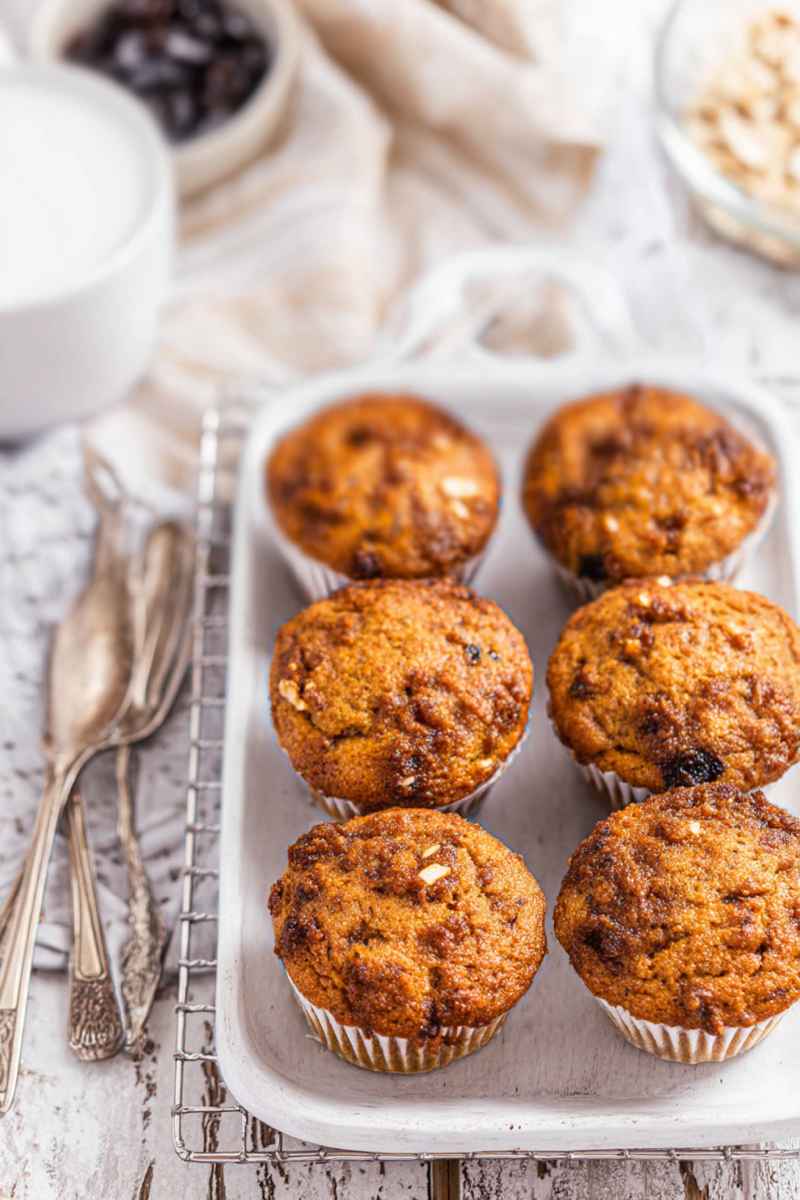
Step Four: Use a spoon, a disher scoop, or a measuring cup to evenly divide the muffin batter among the lined cups in your prepared muffin pan. Fill each cup about two thirds to three quarters full. Place the pan in the preheated oven. Bake the muffins for approximately 15 to 17 minutes. You can test if they are ready by inserting a clean toothpick into the center of a muffin; if it comes out clean, they are done.
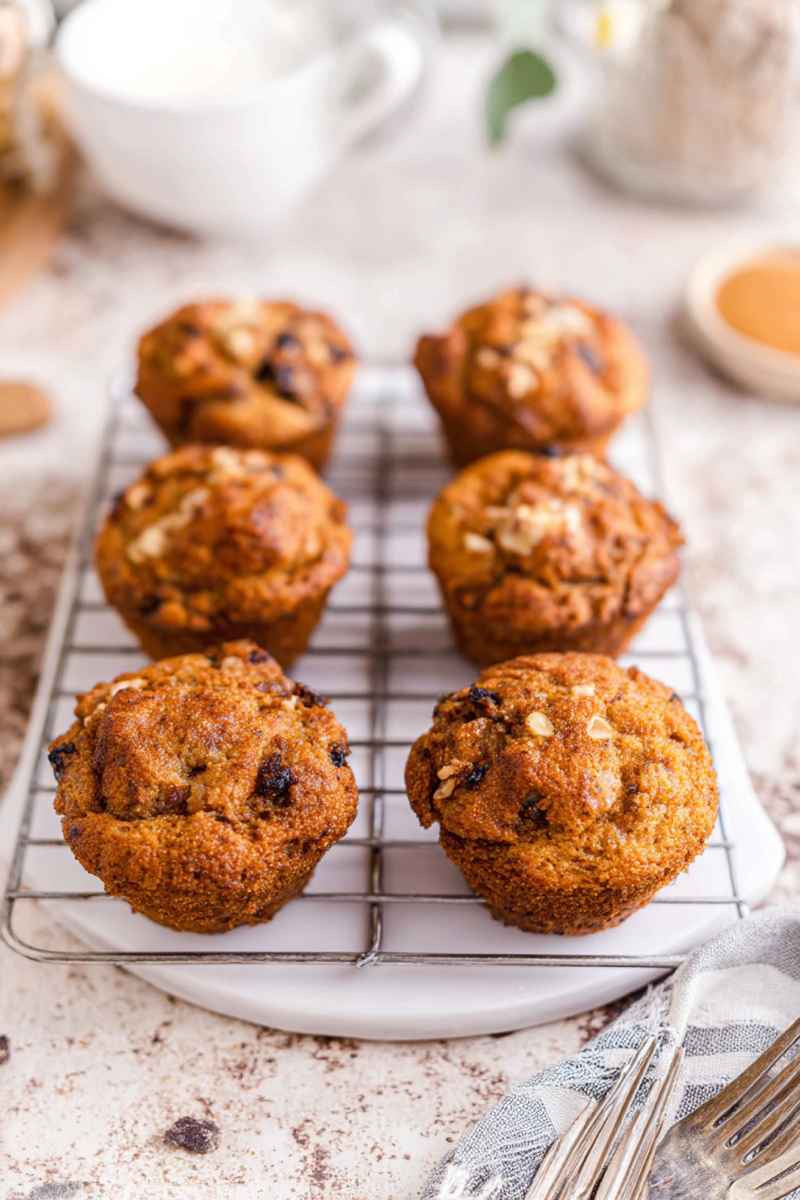
Step Five: Once baked, carefully remove the muffin pan from the oven. Immediately pour a little maple syrup over the top of each warm muffin. Allow the muffins to cool in the pan for about 10 minutes. This helps them set slightly before you move them. After 10 minutes, gently remove the muffins from the pan and transfer them to a wire rack to finish cooling completely. These muffins are truly at their best when served warm.
Useful Kitchen Tools Needed
Having the right tools ready makes baking these muffins even easier. You will find the following equipment particularly helpful.
- Measuring cups and spoons
- A saucepan
- Muffin pan
- Large mixing bowl
Serving Suggestions
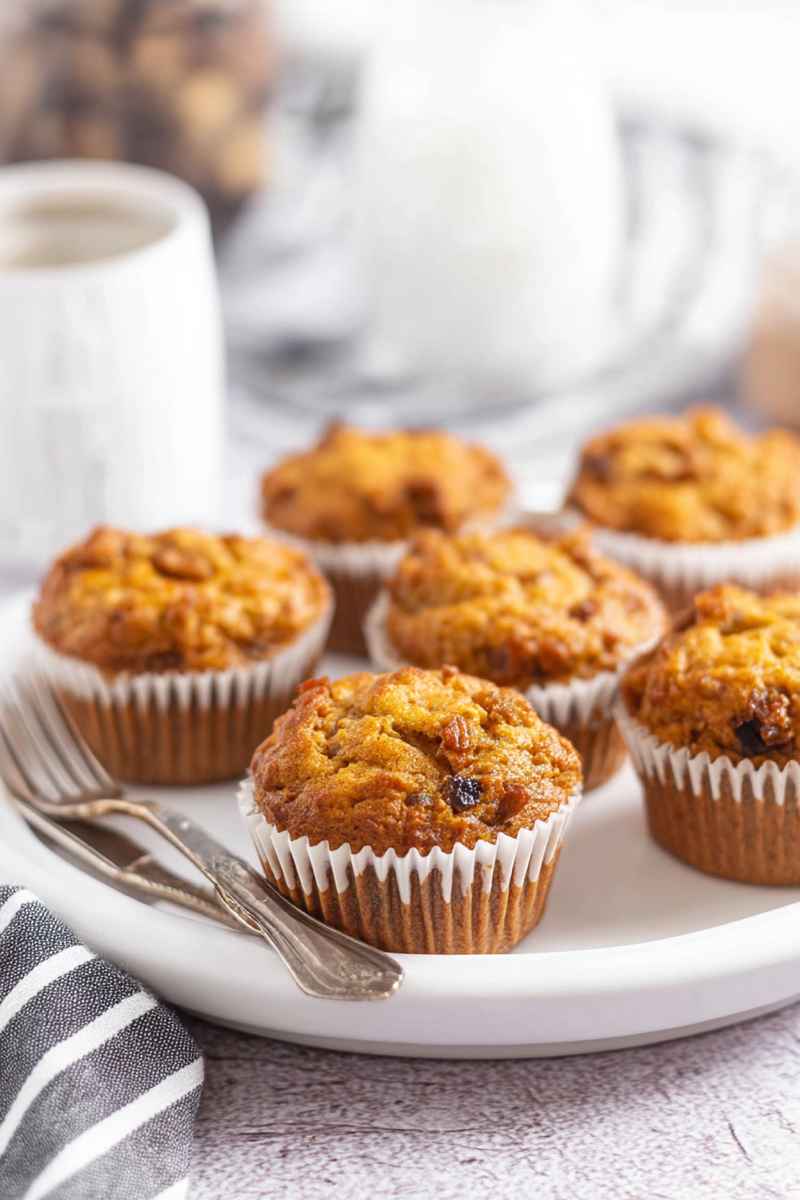
These butter tart muffins are delicious on their own, especially when warm. However, they also pair wonderfully with other desserts. Consider serving them alongside treats that offer complementary textures or flavors.
Some ideas include a rich brownie bottom cheesecake, a warm and bubbly caramel apple dump cake, or a simple cake mix cobbler. Other baked goods like blueberry cheese tarts or banana streusel muffins also make great companions if you are putting together a dessert spread.
Practical Tips and Tricks
Baking is always more rewarding with a few helpful pointers. Here are some tips to help you get the best results with your butter tart muffins.
Consider making a double batch of these muffins if you have a larger family or simply love having extras on hand. These muffins freeze exceptionally well, making them perfect for thawing whenever a butter tart craving strikes. Having a stash in the freezer means a warm treat is never far away.
Avoid the temptation to overfill your muffin cups with batter. Filling them more than about two thirds to three quarters full can cause them to spill over and may lead to uneven baking, with the centers taking longer to cook through.
If you prefer muffins with a more pronounced domed top rather than a flatter one, you can try a simple trick. Increase the oven temperature to 400 degrees Fahrenheit (200 degrees Celsius) for the first 5 minutes of baking. After 5 minutes, reduce the temperature back down to the regular 375 degrees Fahrenheit (190 degrees Celsius) without opening the oven door. Finish baking at the lower temperature as directed. This initial burst of high heat helps the muffins rise quickly.
You have options when it comes to lining your muffin tin. Standard paper muffin liners work perfectly fine. Alternatively, reusable silicone cupcake liners are a great eco friendly option. If you find yourself without any liners, you can still bake these muffins directly in the pan. Just be sure to grease the tin thoroughly before adding the batter. You can grease it using butter and flour, similar to how you would prepare a cake pan. Simply rub butter generously into each cup and then dust with flour, tapping out any excess. Another easy method is to use nonstick baking spray, making sure to coat each individual cup well. Should you happen to forget to grease the tin, don’t despair. Once the muffins are baked and cooled slightly, you can use a small knife to carefully run it around the edge of each muffin to help loosen it from the tin before attempting to remove them.
Recipe Variations and Substitutions
While the classic butter tart flavor is wonderful, you can easily tweak this recipe to suit your preferences or what you have available.
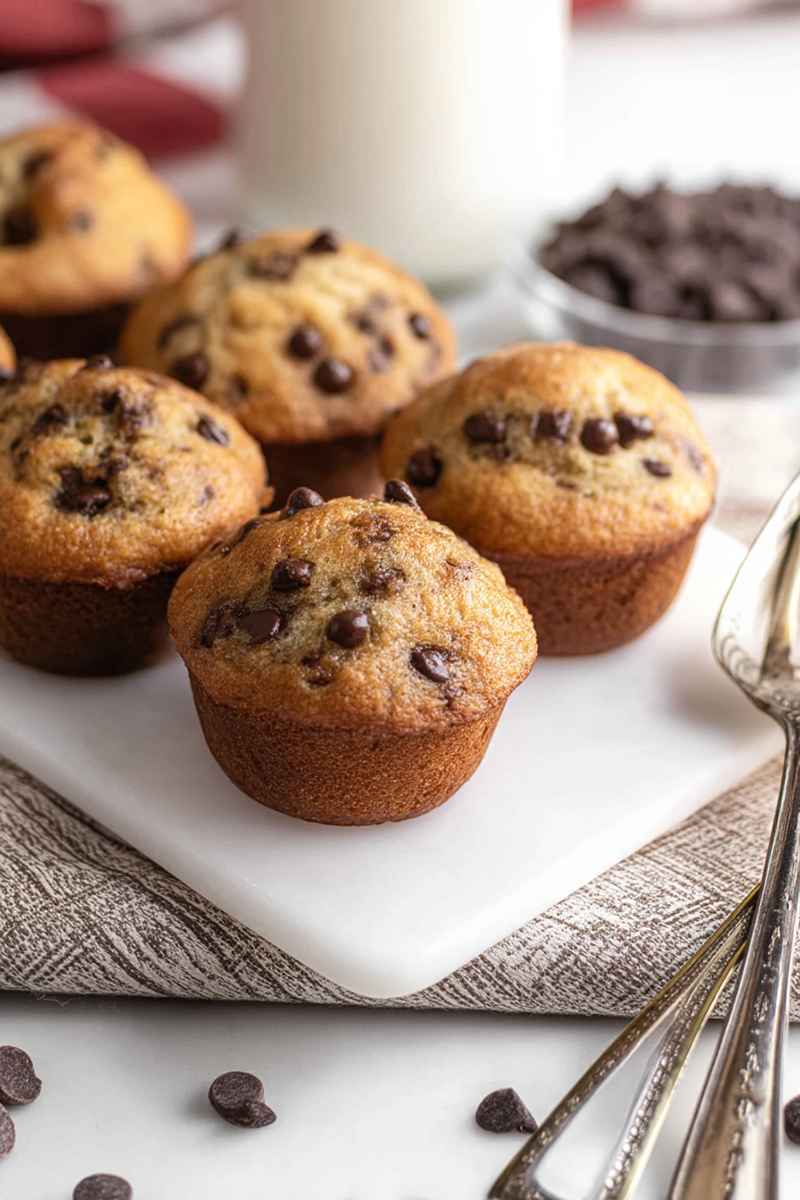
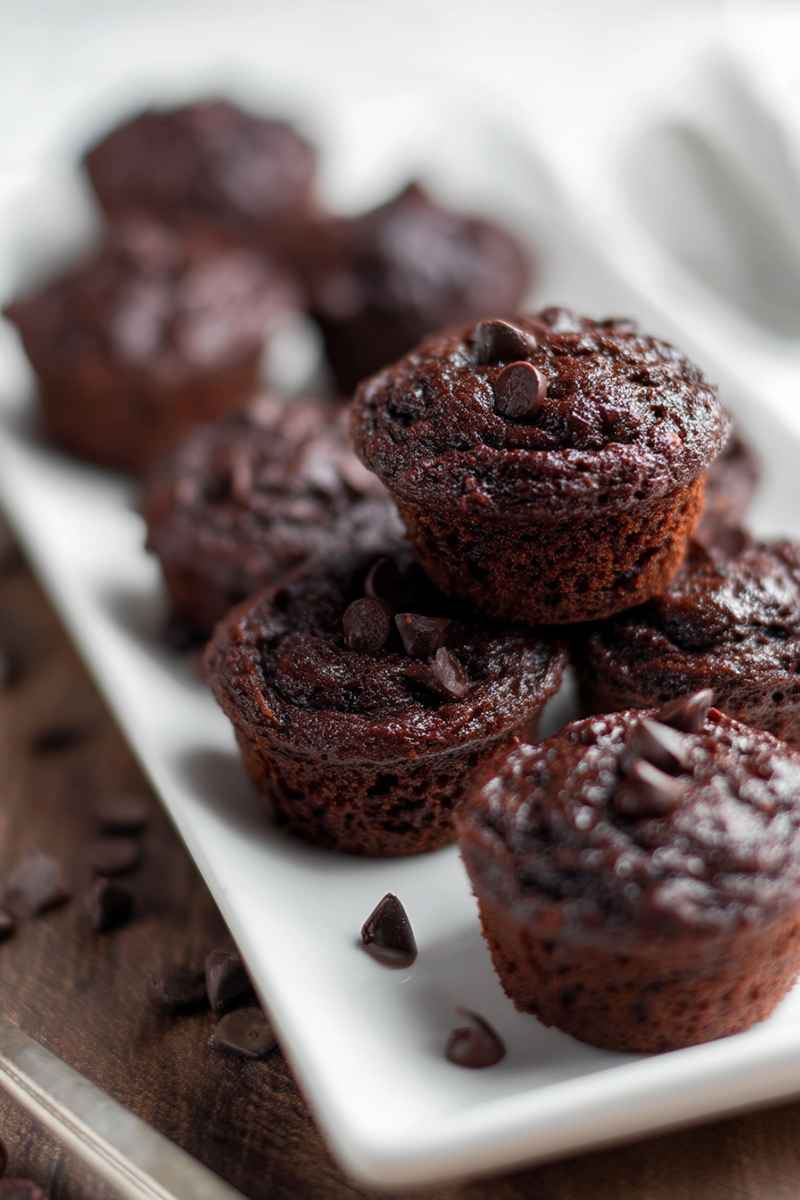
For an extra touch of indulgence, try adding about half a cup of mini chocolate chips to the muffin batter along with the walnuts. The chocolate pairs surprisingly well with the sweet, gooey base.
Not everyone is a fan of raisins, and that is perfectly fine. You can easily omit the raisins altogether if you prefer. If you still want a chewy element, consider substituting them with other dried fruits. Dried cranberries or craisins are popular choices that add a lovely tartness. Chopped dried apricots or even small chunks of dates could also work.
To enhance the warm, comforting flavor profile, stir a teaspoon or two of ground cinnamon into your dry ingredients. Cinnamon is a natural partner to the sweet, caramel like notes in butter tarts and adds another layer of spice.
Storing Leftover Muffins
Proper storage helps keep your butter tart muffins fresh so you can enjoy them longer. Any leftover muffins should be transferred to an airtight container. A container with a tight fitting lid or a resealable zip top bag works well for this purpose. You can store these muffins at room temperature.
It is always important to ensure the muffins have completely cooled down before you store them. Storing warm muffins can create condensation inside the container, which can make them soggy and encourage mold growth.
You do not need to refrigerate these muffins. Keeping muffins in the refrigerator can actually dry them out faster than storing them at room temperature. For the best texture, room temperature storage is recommended if you plan to eat them within a few days.
Can I Freeze These Muffins?
Absolutely, these butter tart muffins freeze beautifully. Freezing is a fantastic way to keep a batch on hand for whenever you want a quick, delicious treat. It is something I highly recommend doing if you have the space.
Just like with room temperature storage, make absolutely certain that the muffins are completely cool before you attempt to freeze them. Freezing warm muffins will cause ice crystals to form, which can ruin the texture. For best results and to prevent them from sticking together in the freezer bag or container, it is helpful to flash freeze them first. To flash freeze, place the cooled muffins on a baking sheet small enough to fit in your freezer, spaced slightly apart. Freeze them for about an hour or two until they are solid. Then, transfer the frozen muffins to an airtight freezer safe container or bag. They will now be frozen individually and will not clump together.
Do I Have to Use Walnuts?
No, you are certainly not required to use walnuts in this recipe if you do not want to. Walnuts add a nice crunch and nutty flavor, but the muffins will still be delicious without them.
You can easily swap the walnuts out for other types of nuts if you prefer, such as pecans, which are also a classic butter tart addition. If you or someone you are baking for has a nut allergy or simply dislikes nuts, you can just omit them altogether from the recipe.
If you decide to leave the nuts out completely, you might choose to add a few more raisins or perhaps some other small add ins like the chocolate chips mentioned earlier to help maintain some texture and bulk in the muffin batter. However, the batter will also work perfectly fine and bake up correctly if you simply leave the nuts out and do not add anything extra in their place.
What Makes a Muffin Light and Fluffy?
Achieving a light and fluffy muffin texture often comes down to a few key factors, particularly the temperature of your ingredients and how you handle the batter. Typically, using room temperature ingredients plays a significant role in creating that desired soft, tender crumb.
When ingredients like eggs, butter, and milk are at room temperature, they combine more smoothly and easily with the dry ingredients. This smoother mixture helps create a batter that is better able to trap air bubbles during the mixing process. These trapped air bubbles are crucial because they are what expand when the batter is heated in the oven.
As the air bubbles expand during baking, they cause the muffin batter to rise. This expansion creates tiny pockets throughout the muffin, resulting in that lovely light and fluffy texture that we all know and love in a good muffin. So, taking the time to let your cold ingredients come to room temperature before you start mixing can make a noticeable difference in the final result.
How Do You Transfer Muffin Batter Evenly?
Getting the same amount of batter into each muffin cup ensures that all your muffins bake evenly and are roughly the same size. There are a couple of simple methods you can use to transfer the wet muffin batter consistently to your lined muffin tins.
One easy way is to use a standard measuring cup or spoon, such as a quarter cup or a half cup measure, depending on how full you want your muffins. Using a measuring tool ensures that you are scooping approximately the same volume of batter for each cup. This method gives you good control and consistency cup after cup.
Another very popular method, especially when you are baking a large batch of muffins or just want a quicker way to fill the tins, is to use an ice cream scoop or a disher scoop. These scoops are designed to portion out consistent amounts of material. Using a scoop tends to be faster than using a spoon or measuring cup. It transfers the batter efficiently in neat portions, which is particularly helpful when you are trying to fill multiple muffin pans quickly.
Frequently Asked Questions
Here are some common questions people ask about making butter tart muffins.
Yes, absolutely. Dried cranberries, craisins, or chopped dates are all good substitutes if you are not a fan of raisins.
Stored in an airtight container at room temperature, they typically stay fresh for about 3 to 4 days.
Why are they best served warm?
Warming them up slightly makes the sweet, gooey center even softer and more like the classic butter tart filling. You can warm them briefly in the microwave or a low oven.
While the recipe calls for granulated sugar for the specific consistency of the heated mixture, using only brown sugar might alter the texture of the filling slightly. It is best to stick to granulated sugar for the base mixture as written.
A few small lumps are fine. You only need to mix until the dry ingredients are just combined with the wet ones. Overmixing can lead to tough muffins.
If your maple syrup is thick or cold, you can gently warm it slightly before pouring it over the hot muffins. Be careful not to overheat it.
Yes, you can bake these muffins ahead of time and store them. They are lovely rewarmed before serving.
The Easiest Butter Tart Muffins (No Pastry Fuss!)
- Prep Time: 10 minutes
- Cook Time: 17 minutes
- Total Time: 27 minutes
- Yield: 12 muffins
- Category: Muffins
- Method: Oven
Description
These Butter Tart Muffins are a brilliant way to enjoy the classic Canadian dessert flavor without fussing with pastry! Served warm, they offer an absolutely irresistible combination of sweet, gooey filling and tender cake.
Ingredients
- 1 ½ cups (230 grams) raisins
- ¾ cup (150 grams) granulated sugar
- ½ cup (120 grams) salted butter
- 2 large eggs
- ½ cup (120 ml) milk
- 1 teaspoon (5 ml) vanilla extract
- 1 ½ cups (190 grams) all-purpose flour
- 2 teaspoons (10 grams) baking powder
- 2 teaspoons (10 grams) baking soda
- ½ cup (50 grams) chopped walnuts
- ¼ cup (60 ml) maple syrup
- a pinch (0.5 grams) salt
Instructions
- Put the sugar, raisins, butter, eggs, milk, and vanilla extract into a pot. Place the pot over medium heat on your stove. Cook this mixture while stirring constantly. Keep stirring until the mixture gets thicker and starts to bubble. Take the pot off the heat and let the mixture cool down.
- Set your oven temperature to 375 degrees F (190 degrees C) to preheat. Place cupcake liners into a muffin pan and set it aside.
- In a large bowl, mix together the all-purpose flour, baking soda, baking powder, and salt. Create a space in the center of the dry ingredients. Pour the cooled raisin mixture into this space. Stir everything together until just combined. Then add the chopped walnuts and mix those in as well.
- Use a spoon to divide the batter evenly into the prepared muffin pan cups. Bake the muffins for about 15 to 17 minutes. You will know they are done when a toothpick inserted into the middle of a muffin comes out clean.
- Carefully remove the pan from the oven. Right away, pour some maple syrup on top of each muffin. Let the muffins cool in the pan for 10 minutes before taking them out. Transfer them to a wire rack to finish cooling. These muffins are best served warm.
Notes
- Serving Suggestion These muffins are truly special when served warm.
- Storage Keep leftovers in an airtight container at room temperature for a few days.
Nutrition
- Serving Size: 1 muffin
- Calories: 300kcal
- Sodium: 383mg
- Fat: 12g
- Saturated Fat: 6g
- Carbohydrates: 46g
- Protein: 4g
- Cholesterol: 52mg