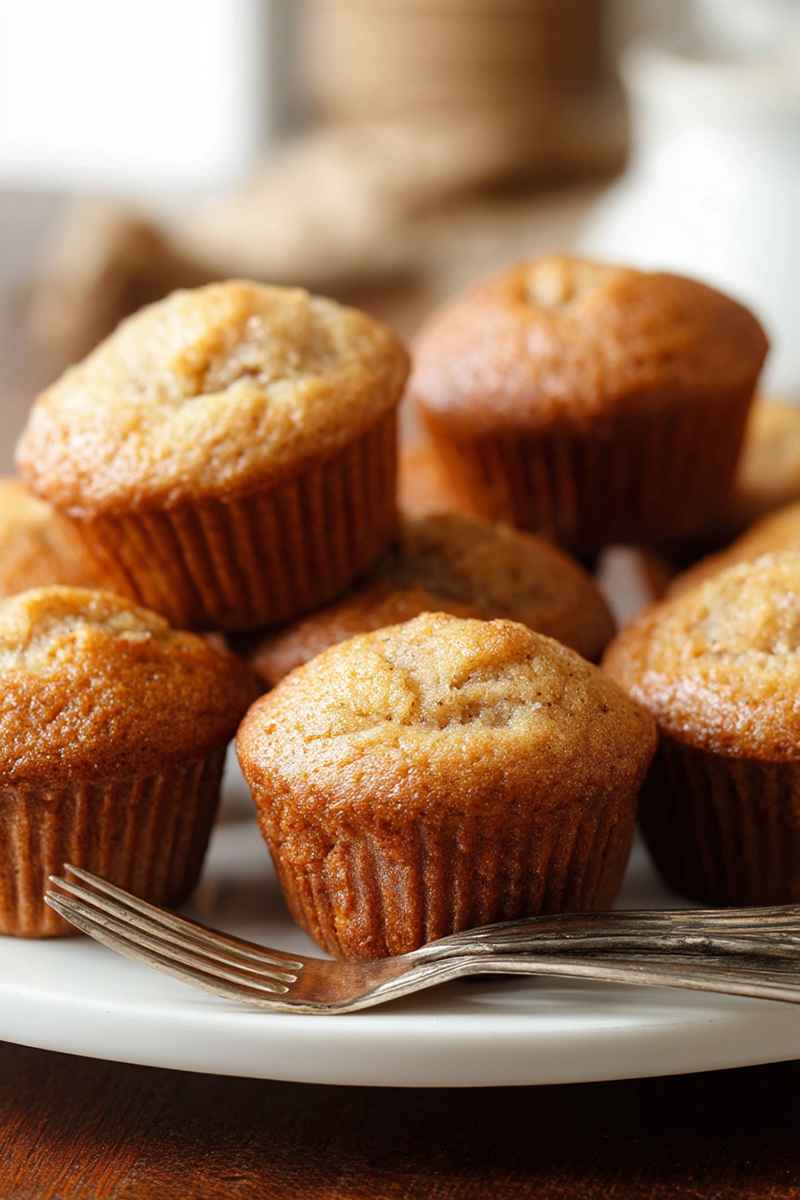
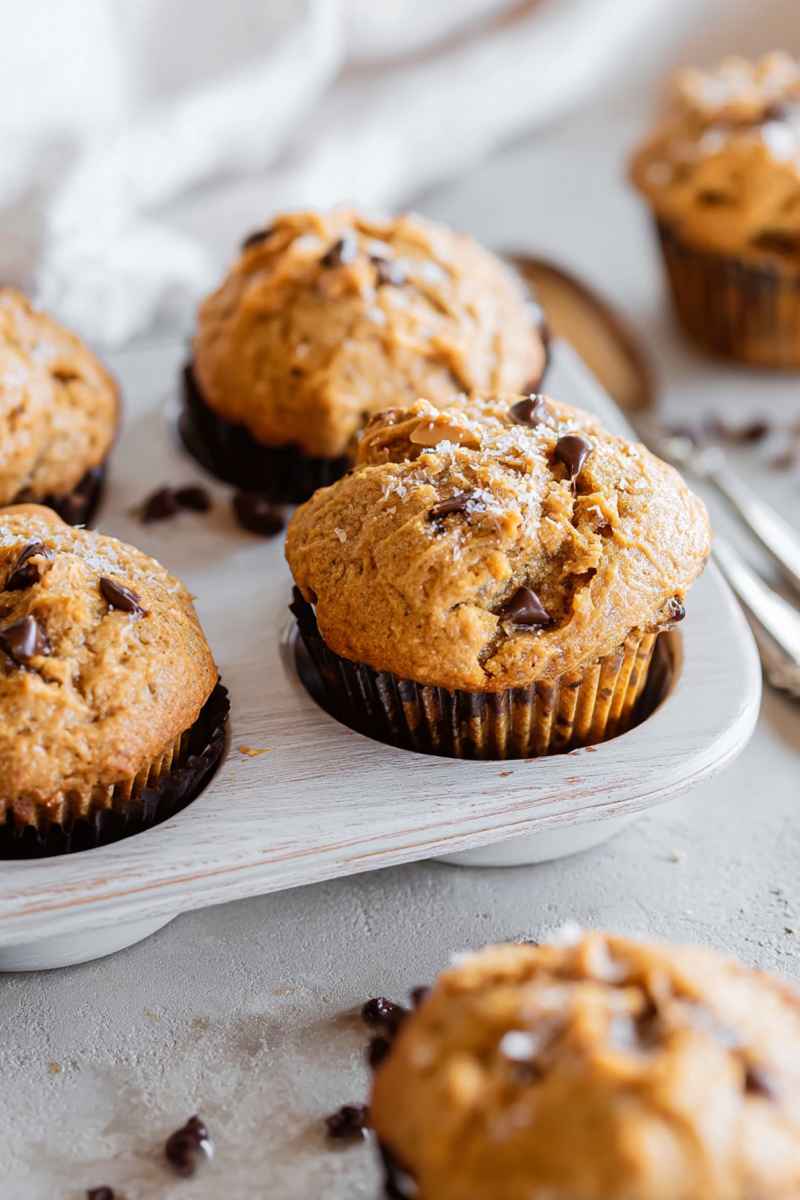
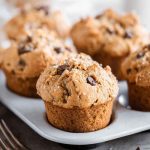
These incredibly moist, wonderfully soft, and tender peanut butter muffins are bursting with rich peanut butter flavor and can be loaded with gooey chocolate chips. I love how easily these come together, offering a little bite of comfort that reminds me of a giant peanut butter cup, perfect for a weekend treat or a quick breakfast on the go.
Why You Will Adore These Peanut Butter Muffins
I have been baking muffins for years, always searching for that perfect texture and flavor combination. These peanut butter muffins truly stand out as some of the best I have ever made, capturing that desirable bakery quality right at home. They are wonderfully tender and moist inside, packed with real peanut butter taste, and incredibly simple to prepare even on a busy morning.
Here is why these treats are destined to become your new favorite muffin recipe
- They are absolutely loaded with delicious peanut butter flavor
- You only need common pantry ingredients, and they are prepped in just 10 minutes
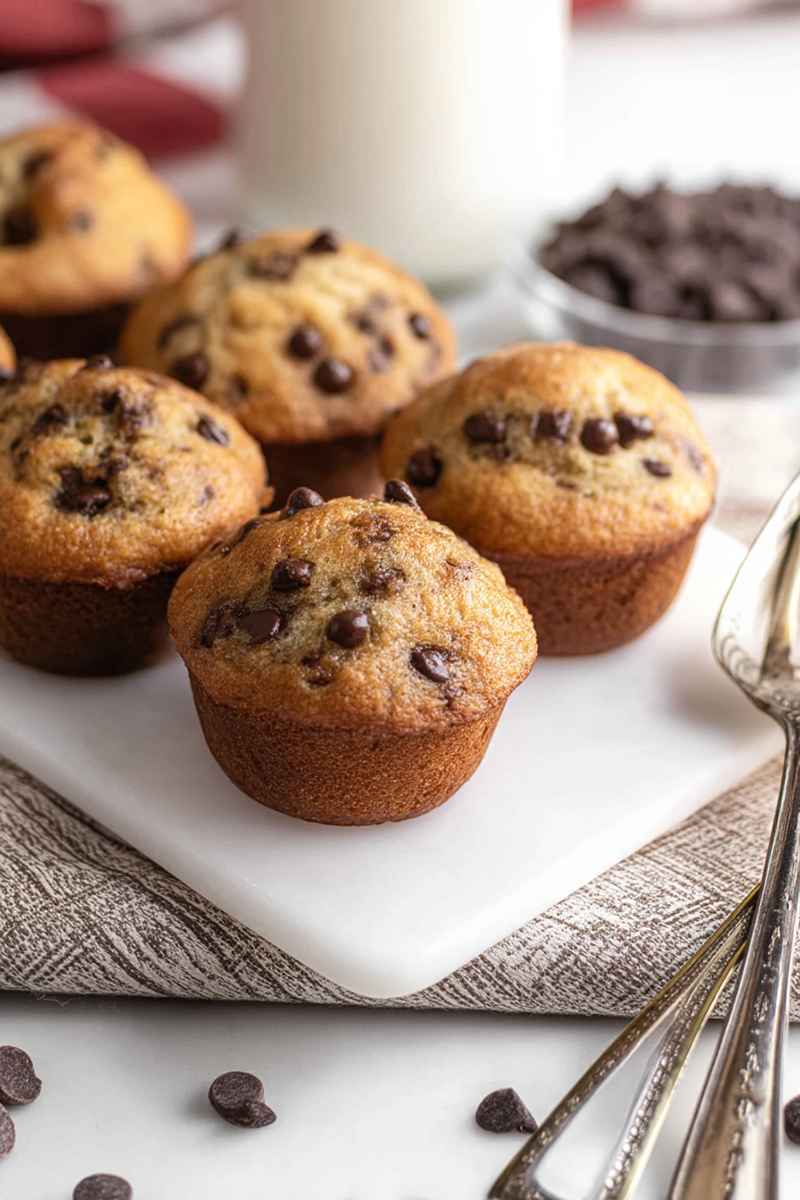
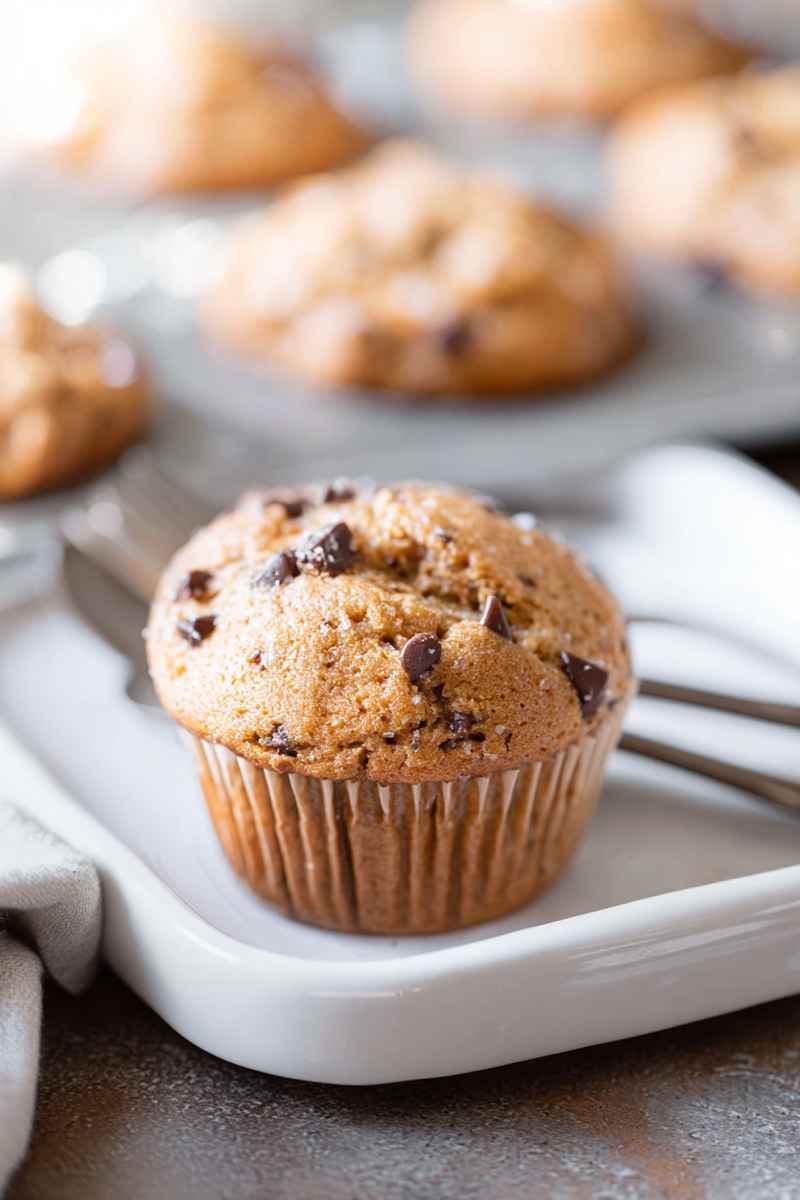
- Adding chocolate chips creates extra special muffins with that beloved peanut butter and chocolate pairing
- The texture is simply perfect, moist and soft with a lovely tender crumb
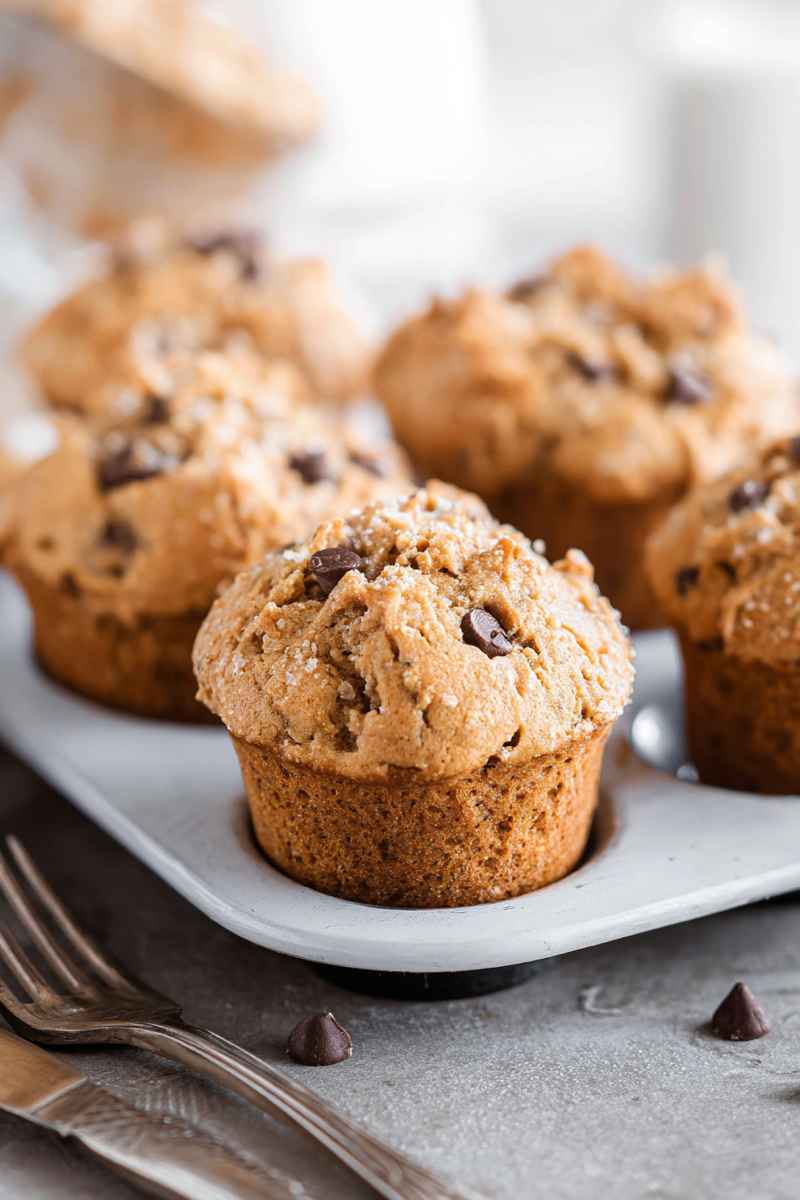
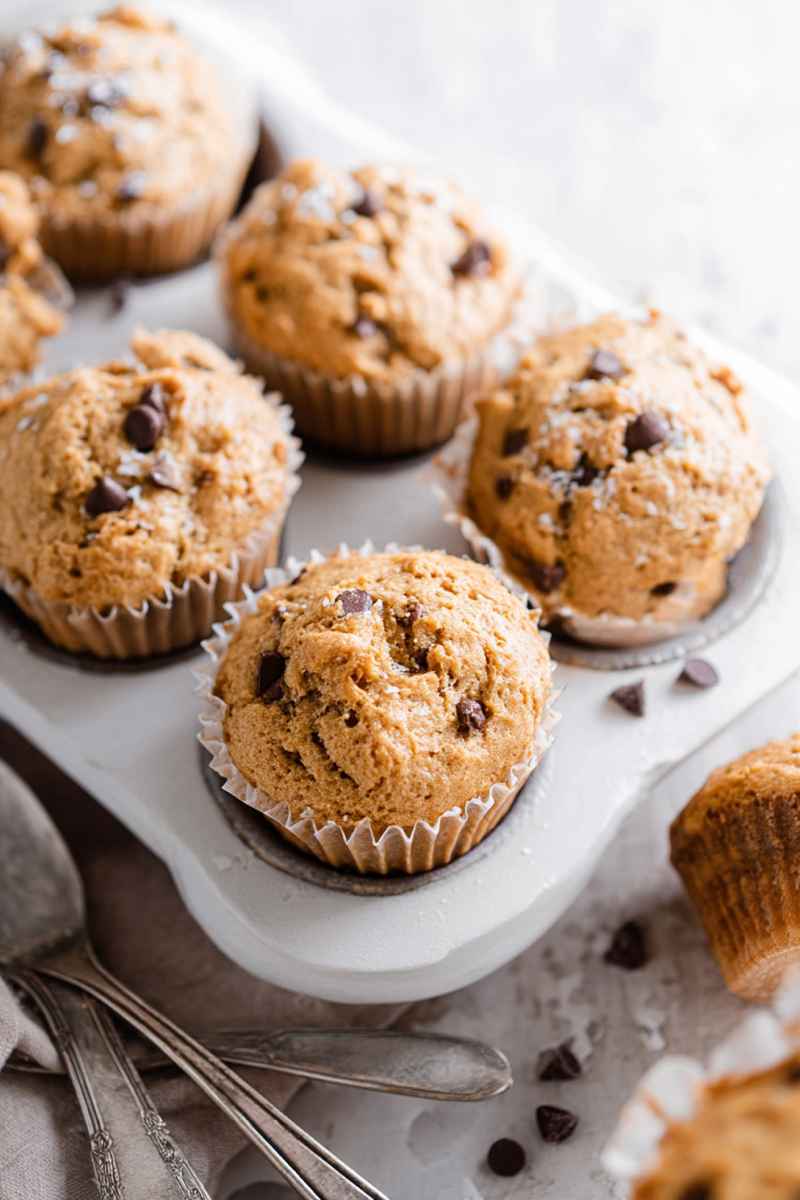
- You will achieve those gorgeous tall and domed muffin tops just like you find in a professional bakery
Essential Ingredients for Peanut Butter Muffins
Creating amazing peanut butter muffins starts with gathering the right ingredients. Each one plays a vital role in achieving the perfect balance of flavor, moisture, and structure that gives these muffins their incredible bakery-style quality. You will find the complete measurements listed in the recipe section further down.
Here is a quick look at what you will need
- Creamy peanut butter brings that signature nutty flavor we all crave. Choose a non-natural variety for the best texture results in baking.
- Granulated sugar provides sweetness and contributes to the tender texture of the muffins.
- Eggs are essential for binding the batter together and providing structure as the muffins bake and rise.
- Vegetable oil adds necessary fat and moisture, helping to keep the muffins wonderfully soft and preventing dryness.
- Buttermilk is a key ingredient for moist, tender baked goods. Its acidity reacts with the baking powder to help the muffins rise beautifully and creates a soft crumb.
- Vanilla extract enhances all the other flavors in the muffin, adding a warm, aromatic note.
- All purpose flour forms the basic structure of the muffin batter. Proper measurement is important for the right texture.
- Baking powder is the primary leavening agent, creating lift and helping the muffins achieve those impressive domed tops.
- Salt balances the sweetness of the sugar and peanut butter, enhancing the overall flavor profile.
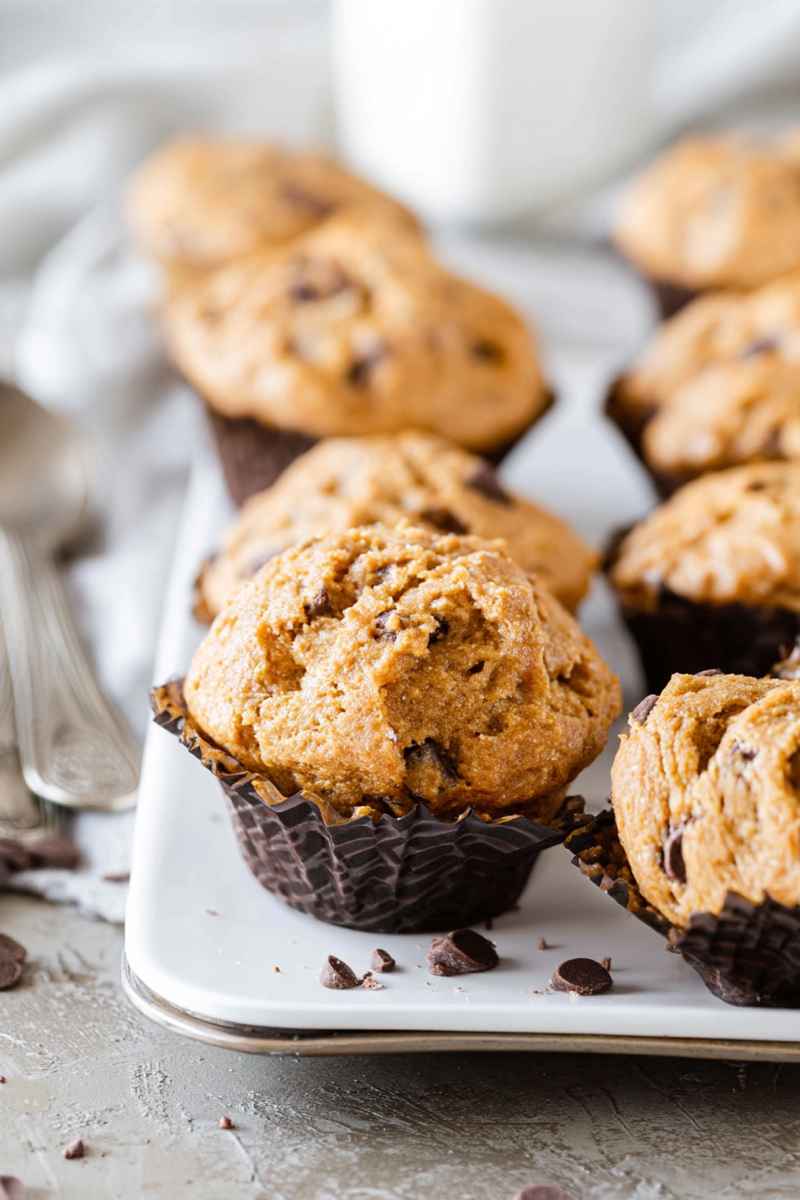
- Semi-sweet chocolate chips are an optional but highly recommended addition, melting slightly as they bake to create gooey pockets of chocolate heaven throughout the muffins.
How to Make These Delicious Peanut Butter Muffins
Making these bakery-style peanut butter muffins is straightforward and rewarding. Just follow these steps, and you will have a batch of beautiful, tasty muffins ready to enjoy. The full recipe details are included further below in the recipe card section.
Here is a simple breakdown of the process
- Start by combining your dry ingredients. In a medium mixing bowl, whisk together the all purpose flour, granulated sugar, baking powder, and salt. Give it a good stir with a spoon to ensure everything is evenly distributed, then set this bowl aside for the moment.
- Next, prepare your wet ingredients. Grab a larger mixing bowl. Add the eggs, buttermilk, vegetable oil, vanilla extract, and the creamy peanut butter to this bowl. Stir these ingredients together until they are smoothly combined.
- Now it is time to bring the batter together. Gradually add the bowl of dry ingredients into the bowl of wet ingredients. If you are adding chocolate chips, fold in 1 and a half cups of them at this stage. Mix everything gently just until the ingredients are barely combined and you no longer see streaks of dry flour. It is crucial not to overmix the batter; it will be quite thick, and that is exactly what you want.
- Allow the batter to rest. Cover the bowl containing your thick batter with a clean kitchen towel. Let the batter sit undisturbed for 15 minutes. While your batter is resting, take this time to preheat your oven to 425 degrees Fahrenheit (220 degrees Celsius).
- Prepare your muffin pan for that bakery look. To get those signature tall, domed muffin tops, you will only fill every other well in a standard 12 count muffin pan. Line only 6 muffin cups with paper liners. Then, scoop a generous amount of batter into each of the lined cups, using about 6 to 8 heaping tablespoons per cup. Sprinkle the remaining half cup of chocolate chips evenly over the tops of the filled muffin cups. For a little sparkle and crunch, you can also sprinkle the tops with sanding sugar if you like.
- Time to bake the muffins using a two temperature method. Place the prepared muffin pan in the center of your preheated oven. Bake the muffins for exactly 7 minutes at the initial high temperature of 425 degrees Fahrenheit (220 degrees Celsius). After those 7 minutes, reduce the oven temperature to 350 degrees Fahrenheit (175 degrees Celsius) without opening the oven door. Continue baking for another 16 to 19 minutes. You will know the muffins are done when a wooden toothpick inserted into the center of one comes out clean with no wet batter clinging to it. Let the muffins cool in the pan for a few minutes before attempting to remove them. If you have leftover batter, you will bake it in a second batch. Remember to turn the oven temperature back up to 425 degrees Fahrenheit (220 degrees Celsius) again before putting the next pan in.
Understanding How to Measure Flour Correctly
Achieving the perfect muffin texture relies heavily on accurate ingredient measurements, especially when it comes to flour. Too much or too little flour can drastically change the outcome. The most precise method is always to use a digital kitchen scale to weigh your flour in grams, which eliminates guesswork.
However, if you do not have a kitchen scale, you can still measure flour properly using the spoon and level method. Here is how I recommend doing it
- First, aerate your flour. Flour settles and becomes quite compact in its container or bag. Use a whisk or a spoon to gently fluff up the flour in its original packaging. This step is like aerating but is not the same as sifting, which is only necessary if a recipe specifically calls for it.
- Use a spoon, not your measuring cup, to transfer the aerated flour into your dry measuring cup. Gently spoon the flour into the cup until it is overflowing slightly. Do not pack the flour down, and do not tap the measuring cup against the counter, as this will compact the flour back down.
- Finally, level off the excess flour. Use the straight, flat edge of a butter knife or a similar tool to sweep across the top of the measuring cup, scraping away any excess flour until the top is level. This ensures you have the correct amount without compacting it.
Peanut Butter Muffins Recipe FAQs
It is natural to have questions when trying a new recipe, especially when aiming for those perfect bakery-style results. Here are some common questions I get asked about these peanut butter muffins.
I find using buttermilk really contributes to a wonderfully moist and tender crumb in muffins. Getting the ingredient ratios correct and making sure not to overbake them are also key factors in preventing dry muffins.
This recipe is designed to create a thick batter, which is great for getting tall, domed tops. The thicker consistency also helps suspend any add-ins like chocolate chips throughout the muffin instead of letting them sink.
Chocolate chips contain stabilizers that help them hold their shape during baking. They also have a lower fat content compared to baking chocolate. The baking temperature and time for muffins are typically moderate enough to soften the chips without causing them to completely lose their form. The sugar in the chips also helps maintain their structure.
If you plan to eat them within a day, you can leave them uncovered on the counter. For longer storage up to 3 or 4 days, I recommend lining an airtight container with paper towels, placing the cooled muffins inside in a single layer, and then adding another layer of paper towels on top. The paper towels absorb moisture and help keep the tops from getting soggy. Replace the towels if they become damp.
Absolutely You can freeze cooled muffins for up to 3 months. Just wrap each muffin individually in plastic wrap, then place them in a freezer bag or airtight container. To enjoy later, thaw them at room temperature for about an hour or unwrap and microwave briefly until defrosted.
Using natural peanut butter (the kind that separates) can change the texture of the muffins because it often has a different fat and moisture content. For the best results in this specific recipe, especially for consistency and achieving the right batter thickness, I recommend using a creamy, non-natural peanut butter.
Incredible Bakery-Style Peanut Butter Muffins
- Prep Time: 10 minutes
- Cook Time: 30 minutes
- Total Time: 40 minutes
- Yield: Muffins
- Category: Oven
Description
These **Peanut Butter Muffins** are incredibly moist, wonderfully soft, and boast a perfect tender crumb. They deliver a rich peanut butter flavor, and you can add chocolate chips for a delightful gooey texture!
Ingredients
- 3 cups (365g) all-purpose flour
- 1 ½ cups (300g) granulated sugar
- 3 tsp baking powder
- ½ tsp salt
- 2 large eggs
- 1 ½ cups (350ml) buttermilk
- ½ cup (120ml) vegetable oil
- 1 tsp vanilla extract
- 1 cup (270g) creamy peanut butter, choose a non-natural kind
- 2 cups (350g) semi-sweet chocolate chips, this is an optional addition
Instructions
- In a mixing bowl, combine the flour, granulated sugar, baking powder, and salt. Use a spoon to stir these dry ingredients together. Set this bowl aside for now.
- Grab a larger mixing bowl. Add the eggs, buttermilk, vegetable oil, vanilla extract, and the creamy peanut butter to it. Stir these wet ingredients until they are combined smoothly.
- Gradually incorporate the bowl of dry ingredients into the bowl of wet ingredients. If you are using chocolate chips, mix in 1 ½ cups of them at this point. Mix everything just until the ingredients are barely combined. Do not overmix the batter; it will be quite thick.
- Cover the bowl containing the batter with a clean towel. Let the batter rest for 15 minutes. While the batter is resting, preheat your oven to 425ºF (220ºC).
- For muffins that look like they came from a bakery, line a standard 12-count muffin pan with only 6 muffin liners. This means you will skip filling every other well. Scoop 6 to 8 heaping tablespoons of batter into each of the lined muffin cups. Take the remaining ½ cup of chocolate chips and sprinkle them generously over the tops of the filled muffin cups. You can also sprinkle the tops with sanding sugar if you like a little sparkle.
- Place the filled muffin pan in the center of your preheated oven. Bake for 7 minutes at the initial temperature of 425ºF (220ºC). After this initial bake time, lower the oven temperature to 350ºF (175ºC) without opening the oven door. Continue baking for another 16 to 19 minutes. The muffins are done when a wooden toothpick inserted into the center of one comes out clean. Allow the muffins to cool in the pan before attempting to remove them. If you have more batter, repeat the baking process with another batch, remembering to turn the oven temperature back up to 425ºF (220ºC) before baking the next pan.
Notes
- Resting Time: Allowing the batter to rest for 15 minutes before baking helps create a better texture in the finished muffins.
- Bakery Style: For muffins with taller tops, fill only every other cup in the muffin pan. This allows the muffins to spread slightly and rise higher.
- Two-Temperature Baking: Starting with a high temperature and then lowering it helps the muffins rise quickly initially before baking through gently, contributing to that desirable domed top.
- Toppings: Adding extra chocolate chips or sanding sugar on top before baking enhances the appearance and adds a touch more sweetness or crunch.
Nutrition
- Serving Size: 1 muffin
- Calories: 620kcal
- Sugar: 40g
- Sodium: 340mg
- Fat: 34g
- Carbohydrates: 70g
- Fiber: 4g
- Protein: 12g
- Cholesterol: 32mg