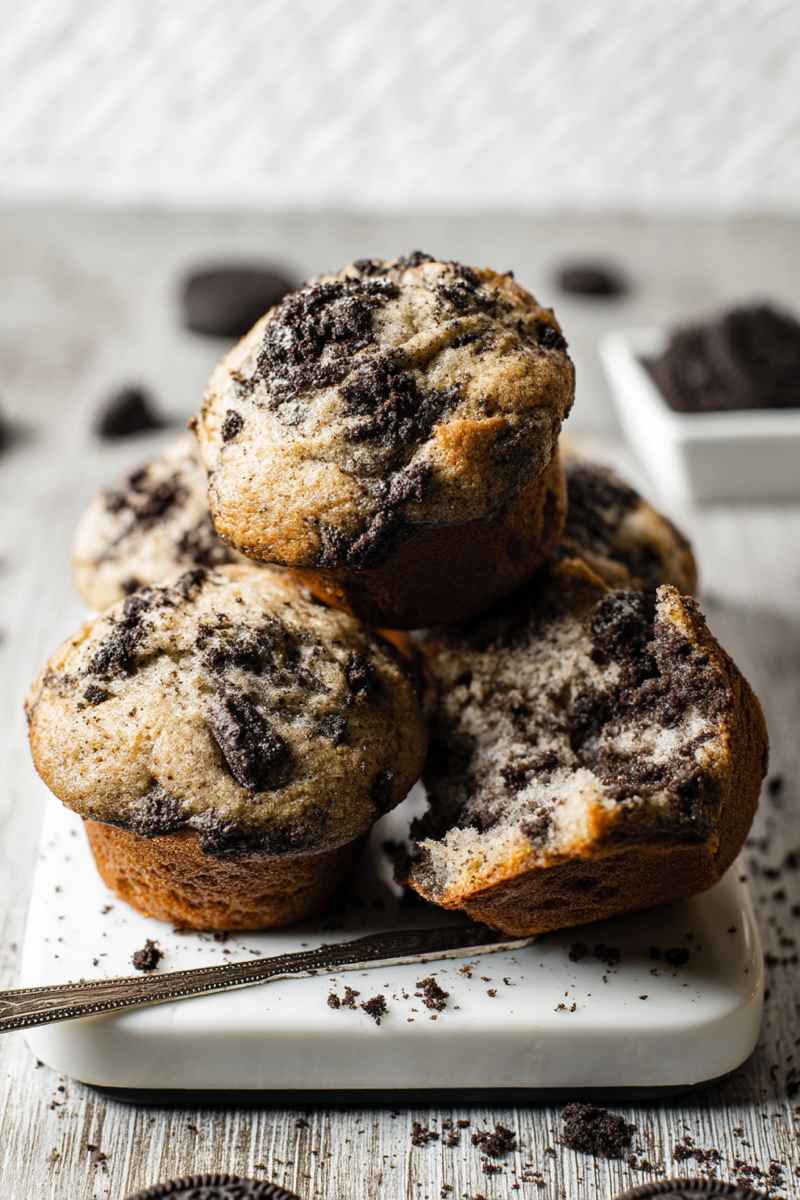
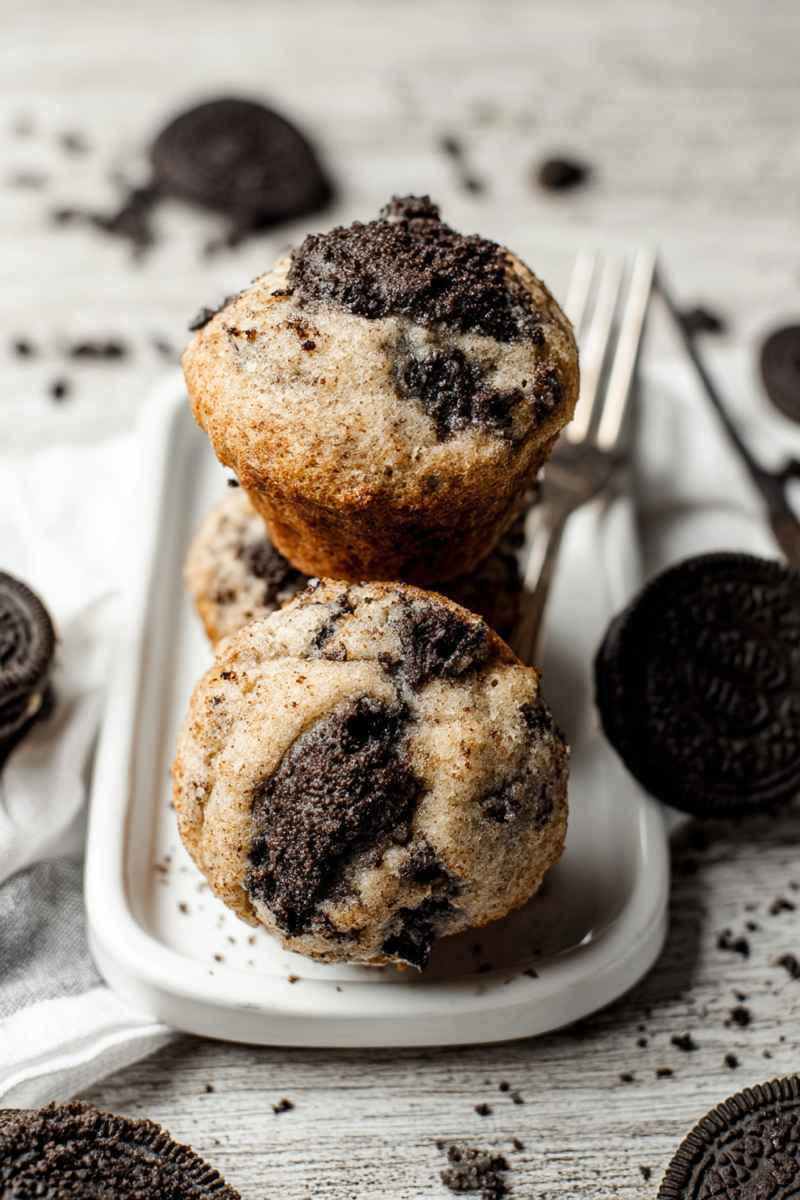
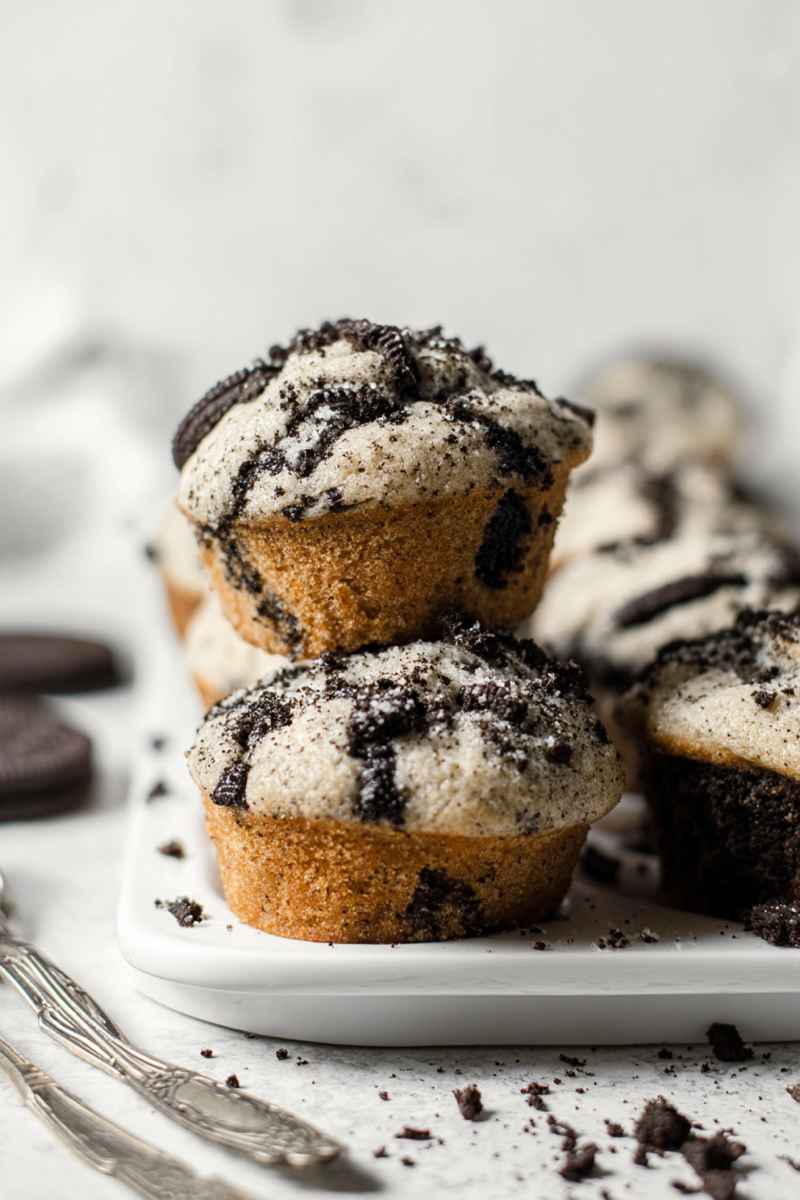
Imagine biting into a fluffy, moist muffin absolutely bursting with chunks of your favorite chocolate sandwich cookies. I just know you’ll fall in love with these irresistible Oreo muffins topped with a sweet, crumbly streusel made right from more crushed Oreos. They’re surprisingly easy to whip up without needing a fancy mixer, making them a perfect treat any day of the week.
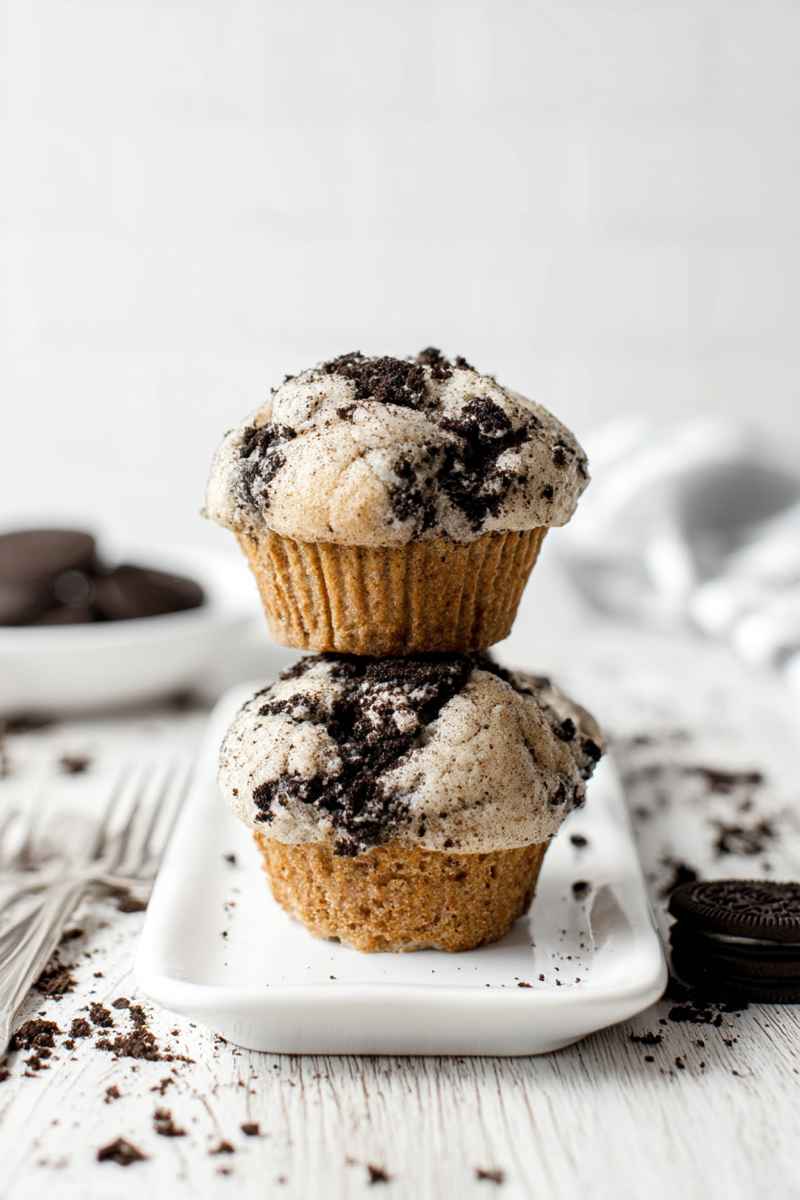
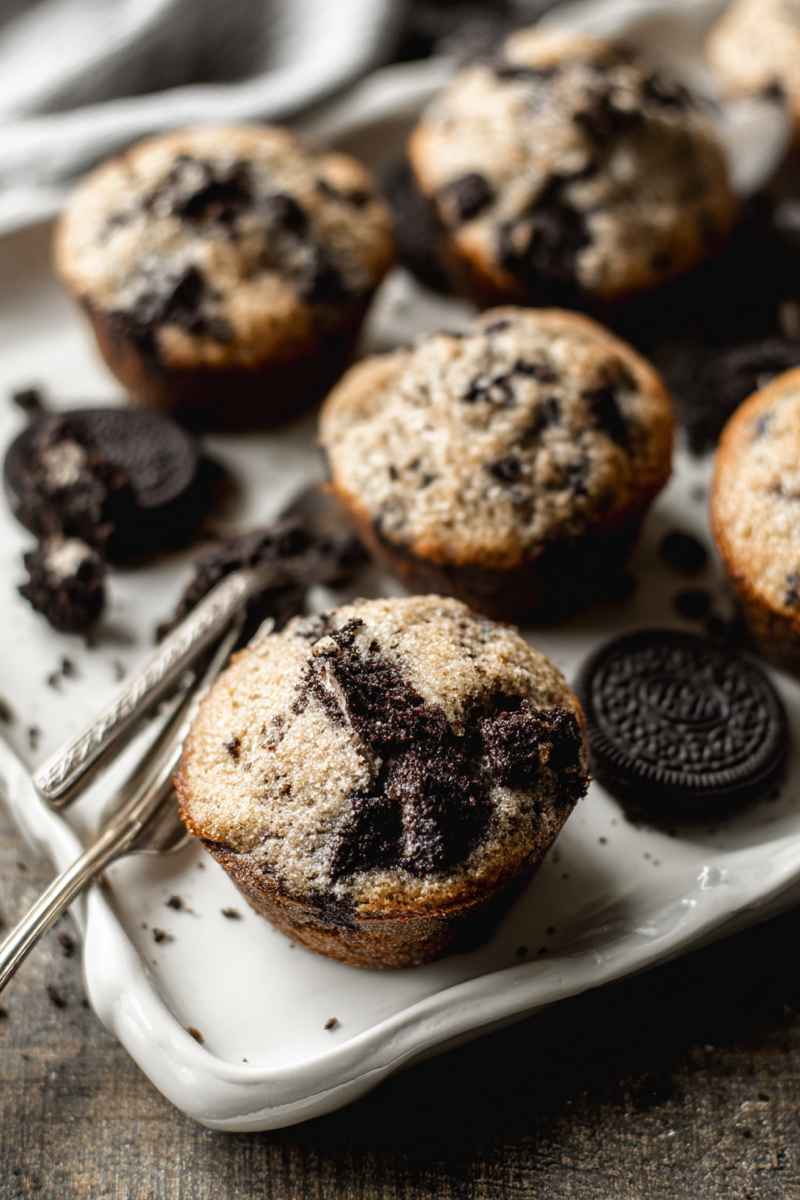
These soft, bakery style muffins are truly a dream come true for anyone who adores Oreos. While I often bake fruity muffins myself, like my tried and true lemon poppy seed muffins or classic apple cinnamon ones, sometimes you simply crave something a little more decadent for breakfast or snack time. These Oreo muffins fit that craving perfectly; they’re wonderfully soft vanilla muffins packed with lovely crushed Oreo cookies throughout.
Even better, you can prepare these delightful muffins in a flash, and I’m happy to share a few simple techniques I use to get that gorgeous, tall bakery style look.
Why You’ll Adore These Oreo Muffins
- Each tender and soft muffin is absolutely loaded with generous amounts of crushed Oreo cookies nestled inside, then finished off with a delightful homemade Oreo streusel crumb topping for extra texture and flavor.
- You can easily keep a batch of these delicious muffins stored in your freezer, ensuring you always have a quick, delightful Oreo treat ready whenever the craving strikes.
- You can make these muffins completely by hand in a single bowl (plus a small one for the streusel). There’s really no need to even think about pulling out your electric mixer.
- These cookies and cream inspired muffins can also be quite simple to adapt if you need them to be suitable for gluten free or dairy free diets with just a couple of easy ingredient swaps.
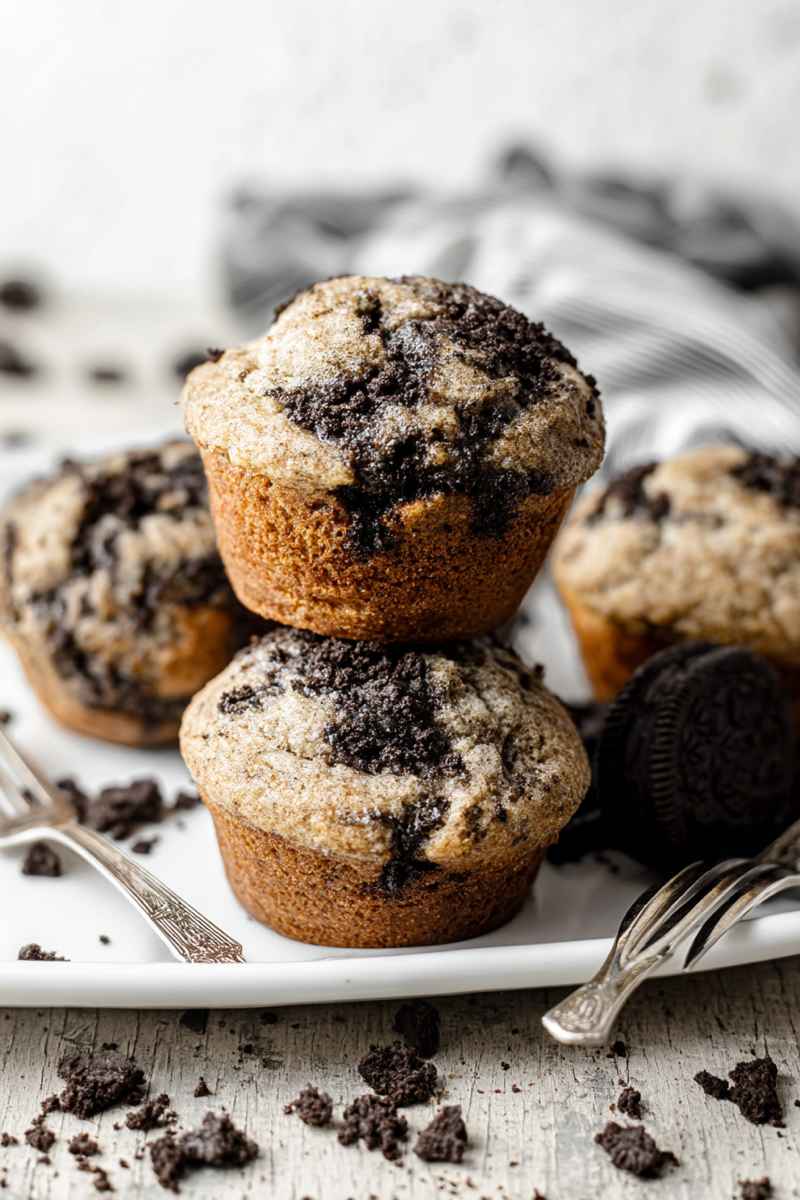
- By taking just a short 20 to 30 minute break to chill the muffin batter before baking, you can achieve those beautiful, tall, domed muffin tops that look just like they came from your favorite bakery counter.
Essential Ingredients You Will Need
Gathering your ingredients is the first simple step to creating these wonderful Oreo muffins.
- Flour: I always use standard all purpose flour for this particular recipe, but if you are baking these muffins as a gluten free option, a good quality 1 to 1 all purpose gluten free baking flour will work wonderfully as a substitute.
- Milk: Feel completely free to use any type of milk you prefer. If you choose a plant based milk to make the muffins dairy free, just keep in mind that the final muffins might taste slightly sweeter unless you opt for an unsweetened variety of vegan milk.
- Butter: You can use regular dairy butter or a suitable vegan butter alternative in these cookies and cream muffins. Both options yield lovely results when prepared properly.
- Oreos: Of course, the star of the show is the Oreos. I typically use standard classic Oreos (which happen to be naturally dairy free in many places). However, if you are gluten intolerant and making these muffins gluten free, be absolutely sure to choose certified gluten free Oreos. You could even experiment with using fun seasonal or flavored Oreos if you want to add a surprising twist to the flavor profile.
Simple Steps to Bake Your Muffins
Now let’s walk through how easily these delightful Oreo muffins come together. The process is straightforward and yields fantastic results every time. (You can find all the exact ingredient amounts and complete instructions listed in the recipe card area further down on this page.)
- Begin by getting your dry ingredients ready. In a bowl that’s medium sized, whisk together your flour, baking powder, and salt until they are well combined. Set this bowl aside for just a little bit.
- In a completely separate bowl, take a whisk and mix together the slightly cooled melted butter, your eggs, the milk you’ve chosen, and the vanilla extract. Then, pour the granulated sugar into this wet mixture and continue to whisk everything until the mixture feels nice and smooth.
- Now, carefully add the dry ingredients you prepared earlier into the bowl containing the wet ingredients. Use a rubber spatula to mix everything together very gently. Mix only until the ingredients are just combined; be very careful not to overmix the batter at this stage. After the dry and wet ingredients are barely combined, gently fold in all those delicious chopped Oreo cookie pieces using the spatula.
- Cover the bowl holding your completed muffin batter. Place this bowl into the refrigerator to chill for about 20 to 30 minutes. This particular step is really helpful for giving your muffins those taller, beautifully domed tops often seen in bakeries.
- While your muffin batter is enjoying its chilling time, go ahead and preheat your oven to 400 degrees Fahrenheit (which is 200 degrees Celsius). Getting the oven hot helps the muffins rise nicely when they first go in.
- Next, prepare the delicious streusel topping. In a small bowl, combine all of the ingredients listed specifically for the Oreo streusel. Use a simple fork to mix these ingredients together thoroughly until the mixture becomes wonderfully crumbly.
- Line a standard 12 cup muffin pan with paper or silicone liners. Carefully scoop the muffin batter into each liner, aiming to fill them about three quarters of the way full. Generously sprinkle the streusel topping you just prepared over the very top of each scoop of muffin batter. Place the pan in your preheated oven and bake the muffins for approximately 12 to 14 minutes. You’ll know they are completely baked through when you insert a toothpick into the center of a muffin and it comes out clean without any wet batter clinging to it.
- Allow the freshly baked Oreo muffins to cool right there in the muffin tin for about 5 minutes. After this short resting period, carefully transfer them from the tin onto a wire cooling rack to finish cooling completely.
Expert Baking Advice
Here are a few of my best tips to help you make the most perfect batch of Oreo muffins possible, achieving results that rival your favorite local bakery.
- It’s incredibly important to weigh your dry ingredients, particularly the flour, using a kitchen scale. Adding too much flour is a very common reason muffins can turn out dry with an unpleasant tough texture. If you don’t have a scale available, I strongly recommend using the scoop and level method to measure your flour correctly. Gently spoon the flour into the measuring cup and then level off the top with a straight edge; never scoop directly from the bag.
- Avoid the temptation to overmix the muffin batter, especially after the dry ingredients have been added. Stir everything together only until it is just barely combined. A few small lumps are perfectly fine and actually preferred over a smooth, overmixed batter. Overmixing develops the gluten too much, leading to tough muffins.
- While chilling the Oreo muffin batter is listed as optional, it truly makes a noticeable difference in achieving those beautiful, tall, domed muffin tops. If you have the time, I highly recommend taking those 20 to 30 minutes for this step.
- When you are scooping the chilled batter into your muffin liners, try to do it as gently as you can. This helps avoid deflating the batter, which could prevent your muffins from rising as tall as they could.
Storing Your Delicious Muffins
Once your wonderful Oreo muffins have completely cooled, you’ll want to store them properly to keep them fresh and delicious.
- You can store these cooled Oreo muffins in a container that is airtight at room temperature for a good two to three days. They usually don’t last that long in my house though.
- To freeze the muffins for longer storage, first make sure they are completely cooled. Then, place them into a freezer safe bag or container. They can be kept frozen for up to two months. When you are ready to enjoy one after freezing, you can easily warm a single muffin in the microwave for about 15 to 30 seconds or simply let it thaw out naturally at room temperature.
Common Questions About Oreo Muffins
I often get asked a few questions about making these specific muffins, so here are some answers to help you out.
If you happen to be a little short on time or just eager to bake, you can certainly skip the chilling step and bake the muffins immediately. However, chilling the batter really does contribute significantly to achieving those lovely, much taller muffin tops that give them that desirable bakery appearance.
Muffins can sometimes turn out dry if your flour wasn’t measured correctly. I highly recommend using a kitchen scale to weigh your dry ingredients for better accuracy. Also, be very careful not to overmix the muffin batter once you’ve added the dry ingredients; mixing just until they are combined is key to keeping them tender.
I personally use classic regular Oreos most of the time (which are often naturally dairy free). If you need the muffins to be gluten free, remember to use certified gluten free Oreos. You could also have fun trying different seasonal or limited edition Oreo flavors for a unique twist.
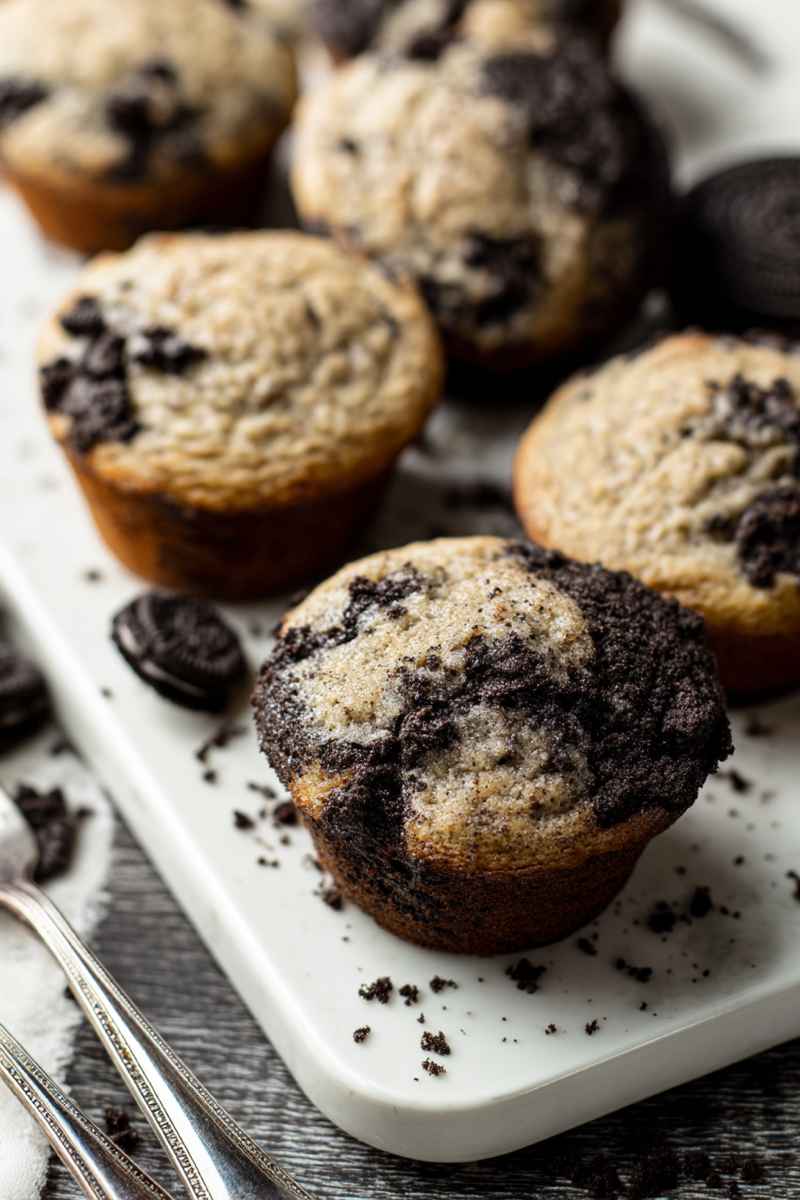
While I absolutely adore the extra crunch and flavor that the streusel topping adds to these muffins, it is completely optional. If you prefer your muffins without it, you can certainly bake them plain.

Easy Oreo Muffins with Streusel Topping (No Mixer!)
- Prep Time: 10 minutes
- Cook Time: 13 minutes
- Total Time: 23 minutes
- Yield: 12 muffins
- Category: Muffins
- Method: Oven
Description
These Oreo Muffins are incredibly soft and wonderfully fluffy, truly loaded with delightful Oreo flavor! Each tender muffin features sweet Oreo streusel crumbled over the top and plenty of crushed Oreo cookies folded into the batter, creating an irresistible treat!
Ingredients
For the Oreo Muffins
- ½ cup (120 grams) unsalted butter, melted then cooled slightly (dairy or dairy free works well)
- ¾ cup (150 grams) granulated sugar
- 2 large eggs
- ½ Tablespoon (10 ml) vanilla extract
- ⅔ cup (160 ml) milk (dairy or dairy free)
- 2¼ cup (270 grams) all purpose flour
- 1 Tablespoon (12 grams) baking powder
- ¾ teaspoon (4 grams) salt
- 1½ cup (140 grams) chopped Oreo cookies (from about 12 to 15 standard cookies)
For the Oreo Streusel Topping
- 2 Tablespoons (24 grams) granulated sugar
- 2½ Tablespoons (30 grams) brown sugar
- ¼ cup (25 grams) finely chopped Oreo cookies (from about 3 to 4 standard cookies)
- 6 Tablespoons (45 grams) all-purpose flour
- 4 Tablespoons (60 grams) softened butter (dairy or dairy free works well)
Instructions
- Get the dry ingredients ready first. In a medium-sized bowl, combine the flour, baking powder, and salt with a whisk. Set this bowl aside for later.
- In a separate bowl, whisk together the cooled melted butter, eggs, milk, and vanilla extract. Pour the granulated sugar into this wet mixture and whisk until it feels smooth.
- Add the dry ingredients into the wet ingredients. Use a rubber spatula to mix gently until they are just combined. Do not overmix. Then, carefully fold in the chopped Oreo cookie pieces.
- Cover the bowl containing the muffin batter. Place it in the refrigerator to chill for 20 to 30 minutes. This step helps create muffins with nice tall tops.
- While the muffin batter is chilling, preheat your oven to 400 degrees Fahrenheit (200 degrees Celsius).
- Prepare the streusel topping. In a small bowl, combine all of the ingredients listed for the Oreo streusel. Use a fork to mix them together until crumbly.
- Line a standard 12-cup muffin pan with paper or silicone liners. Scoop the muffin batter into each liner, filling them about three-quarters full. Sprinkle the prepared streusel topping generously over the top of each muffin. Bake the muffins for 12 to 14 minutes. You can tell they are done when a toothpick inserted into the center comes out clean without wet batter.
- Let the baked Oreo muffins cool in the muffin tin for about 5 minutes before carefully transferring them to a wire rack to cool completely.
Notes
Measurement Tips: For best results, especially with dry ingredients like flour, I highly recommend using a kitchen scale instead of volume cups. The metric weights provided here offer more accuracy.
Flour Measurement: If you are using cups for flour, make sure to measure correctly. Gently spoon the flour into your measuring cup and level off the top with a straight edge. Scooping directly from the bag can pack the flour, leading to too much in the recipe and possibly dry, crumbly muffins.
Chilling the Batter: The instruction to chill the muffin batter is optional. It helps give the muffin tops a bit more height and dome nicely while baking. If you are in a hurry, you can skip this step and bake immediately. The muffins will still taste absolutely delicious.
Storage and Freezing: You can store cooled Oreo muffins in an airtight container at room temperature for two to three days. For longer storage, place the completely cooled muffins in a freezer bag. They can be frozen for up to two or three months. To enjoy after freezing, you can warm one in the microwave for 15 to 30 seconds or let it thaw at room temperature.
Nutrition
- Serving Size: 1 muffin
- Calories: 358 kcal
- Sugar: 25g
- Sodium: 415mg
- Fat: 15g
- Carbohydrates: 51g
- Fiber: 1g
- Protein: 5g
- Cholesterol: 45mg