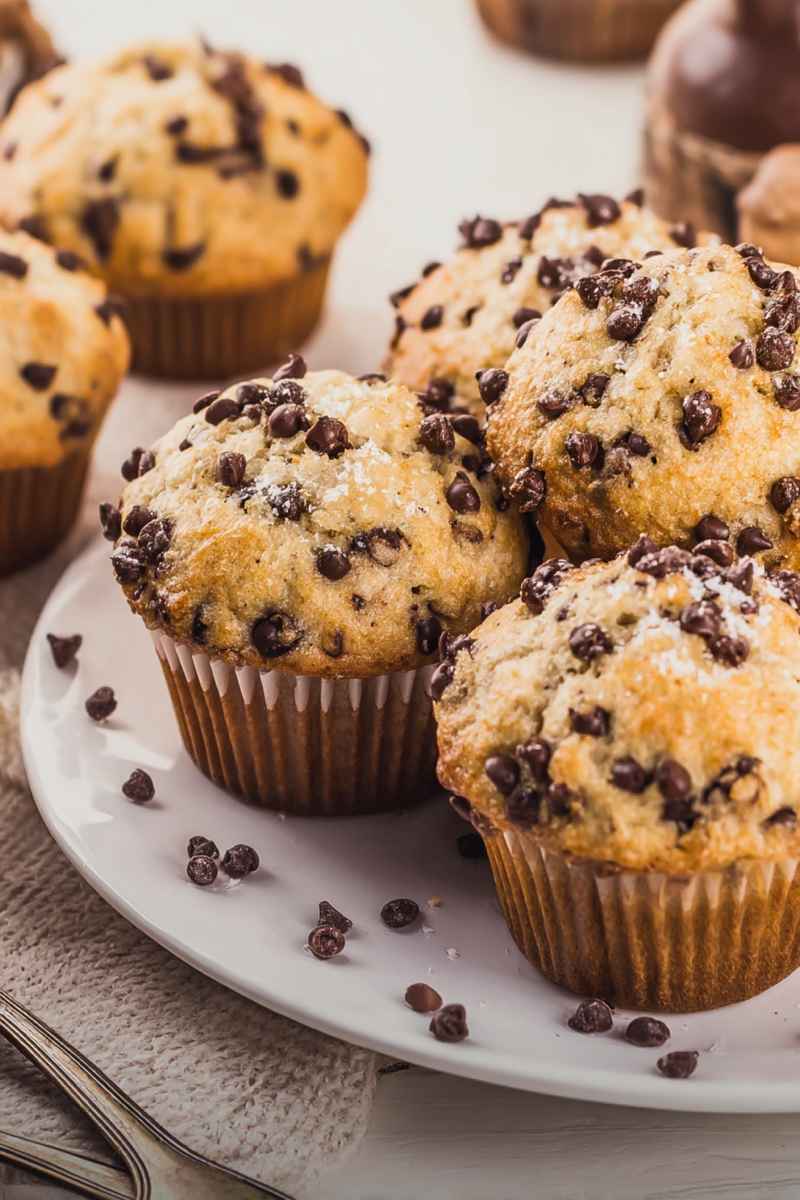
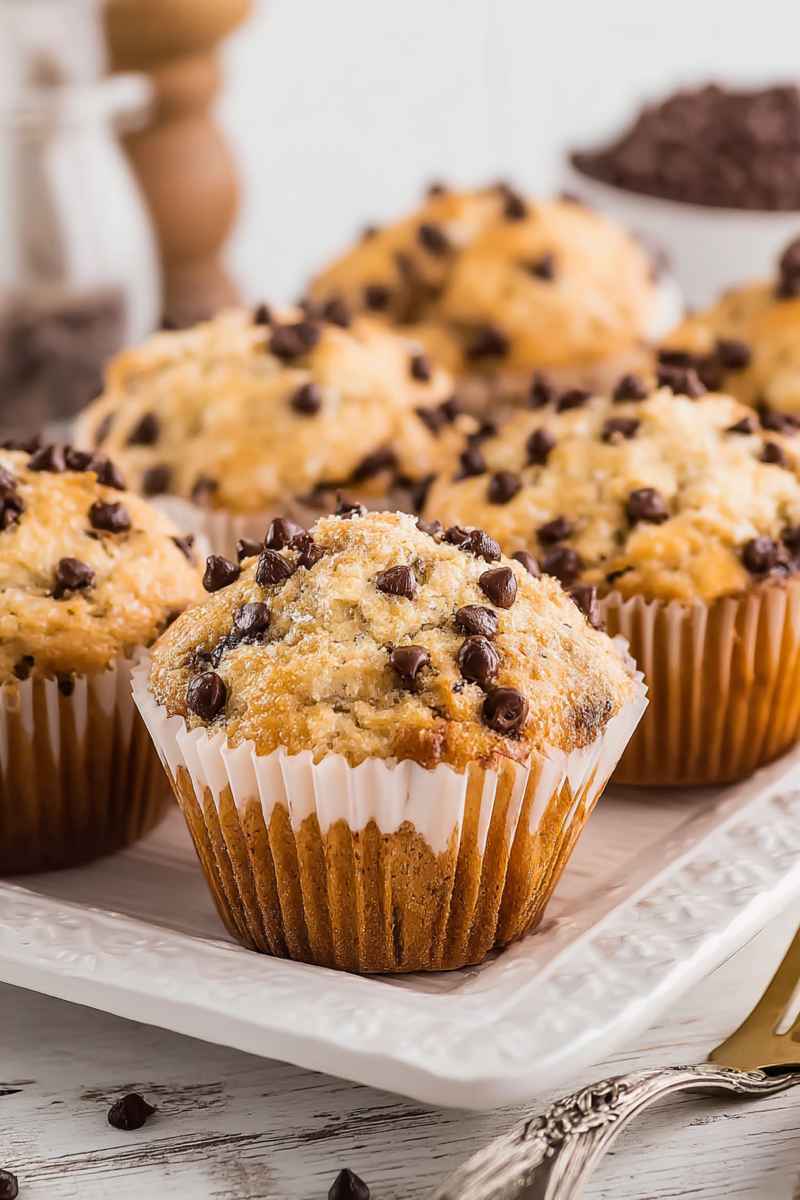
There’s nothing quite like a perfect Chocolate Chip Muffin, bursting with sweet chocolate morsels and boasting that gorgeous domed top straight from the bakery. These muffins are wonderfully moist and fluffy inside, staying soft for days thanks to a smart blend of butter and oil. I just adore making a batch of these; they fill my kitchen with the best smell and are truly simple enough for anyone to bake successfully.
If you crave delicious, easy-to-make muffins that taste like they came from your favorite local spot, loaded with rich chocolate chips, then this recipe is absolutely for you. There are no tricky steps here, just straightforward ingredients and a few easy tips to help you achieve that beautiful rise and tender texture every single time you bake them.
Chocolate Chip Muffins are a true classic for a reason.
Here are some key things you will love about this recipe:
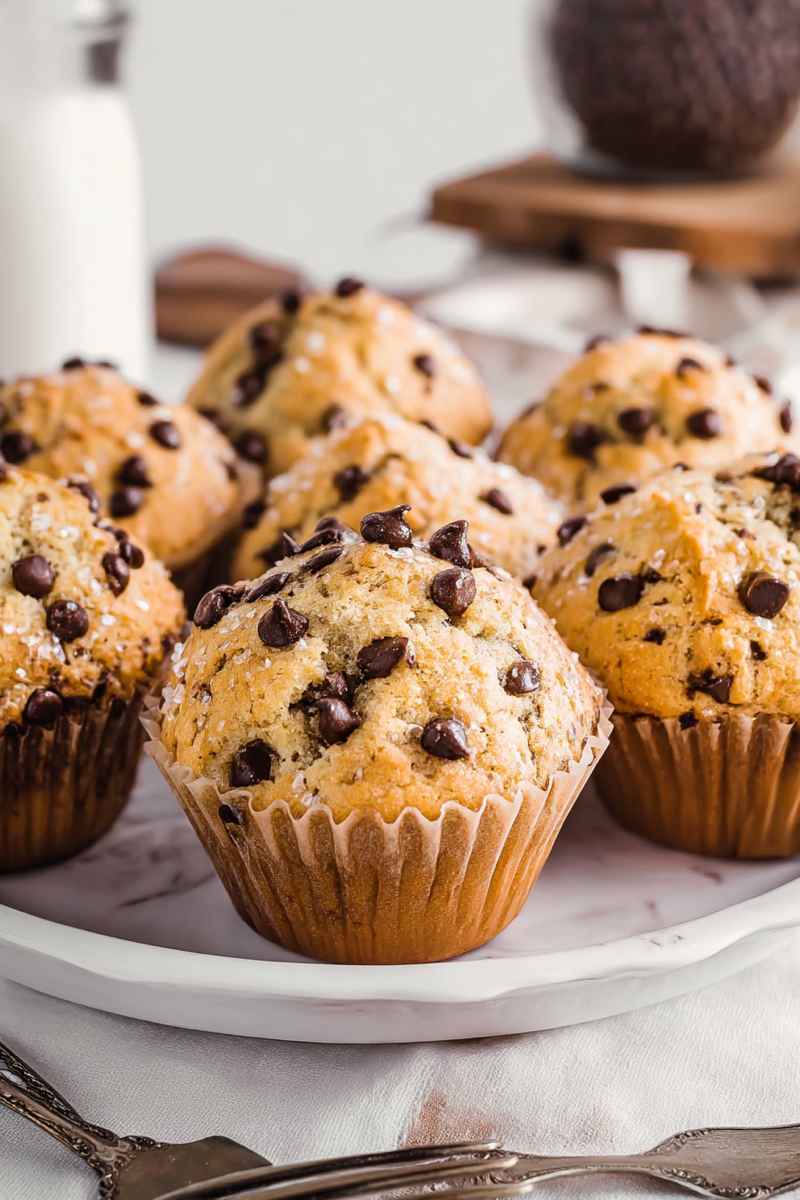
- These muffins offer a soft, fluffy texture just like the ones you find at a professional bakery.
- Every bite is packed with rich, comforting chocolate flavor.
- The batter comes together quickly using everyday ingredients.
- A sprinkle of crunchy sugar on top gives them that perfect finishing touch.
- They stay wonderfully moist and tasty for several days after baking.
Understanding the role each ingredient plays can really help you get the best results. While the full list is in the recipe card below, here is a quick look at some key players.
FLOUR: I use all-purpose flour as the base for these muffins. It provides the essential structure that helps the muffins rise tall and creates those desirable fluffy domes. Sticking with all-purpose is best for achieving the right texture. Other flours, like bread flour, might make them too tough, and cake flour could make them too delicate to support that height.
LEAVENING AGENTS: Baking powder and baking soda work together like a team to give these muffins their lift. The baking powder does most of the heavy lifting for the rise. The baking soda specifically reacts with the acidity present in the buttermilk, which helps everything puff up beautifully while baking in the oven. This combination is crucial for achieving that light and airy texture.
SALT: Adding a small amount of salt makes a big difference here. It helps to balance out the sweetness from the sugar and really makes the chocolate flavor pop. If you skip the salt, the overall taste can seem a little flat or less vibrant. It is a simple ingredient but so important for well-rounded flavor.
SUGARS: Granulated sugar sweetens the muffin batter and helps the tops turn that lovely golden color with a slightly crisp edge as they bake. It contributes to that perfect bakery-style crumb without making the muffins overly sweet. Coarse sugar is what you sprinkle on top for that delightful crunch and sparkle, making them feel extra special. You can use turbinado or sparkling sugar. Just a small pinch on top before baking gives them that classic finish.
BUTTER: Melted butter brings a wonderfully rich, buttery flavor that makes these muffins feel truly indulgent. Using unsalted butter lets you control the exact amount of salt in your recipe. Remember to let the melted butter cool slightly before you mix it with the other ingredients so it does not accidentally cook the eggs.
VEGETABLE OIL: This is a key ingredient for keeping the muffins soft and moist, even a day or two after they are baked. The combination of both melted butter and vegetable oil is the secret to getting great flavor and fantastic texture. You get the richness from the butter and the moisture from the oil, so you do not have to choose just one.
EGGS: Eggs are essential for binding all the ingredients together and they also add richness to the batter. Using eggs that are at room temperature helps them mix more smoothly into the batter and promotes more even baking throughout the muffins.
BUTTERMILK: This ingredient is critical for achieving that incredibly tender, melt-in-your-mouth texture. It also adds a slight tang that balances the sweetness of the chocolate and sugar perfectly. If you do not have buttermilk on hand, you can easily make a simple substitute by stirring a tablespoon of lemon juice or vinegar into a cup of regular milk and letting it sit for a few minutes before you use it.
VANILLA EXTRACT: Vanilla adds warmth and helps to round out all the different flavors in the muffin. It pairs beautifully with the chocolate and gives the muffins that comforting taste that reminds you of a traditional muffin shop.
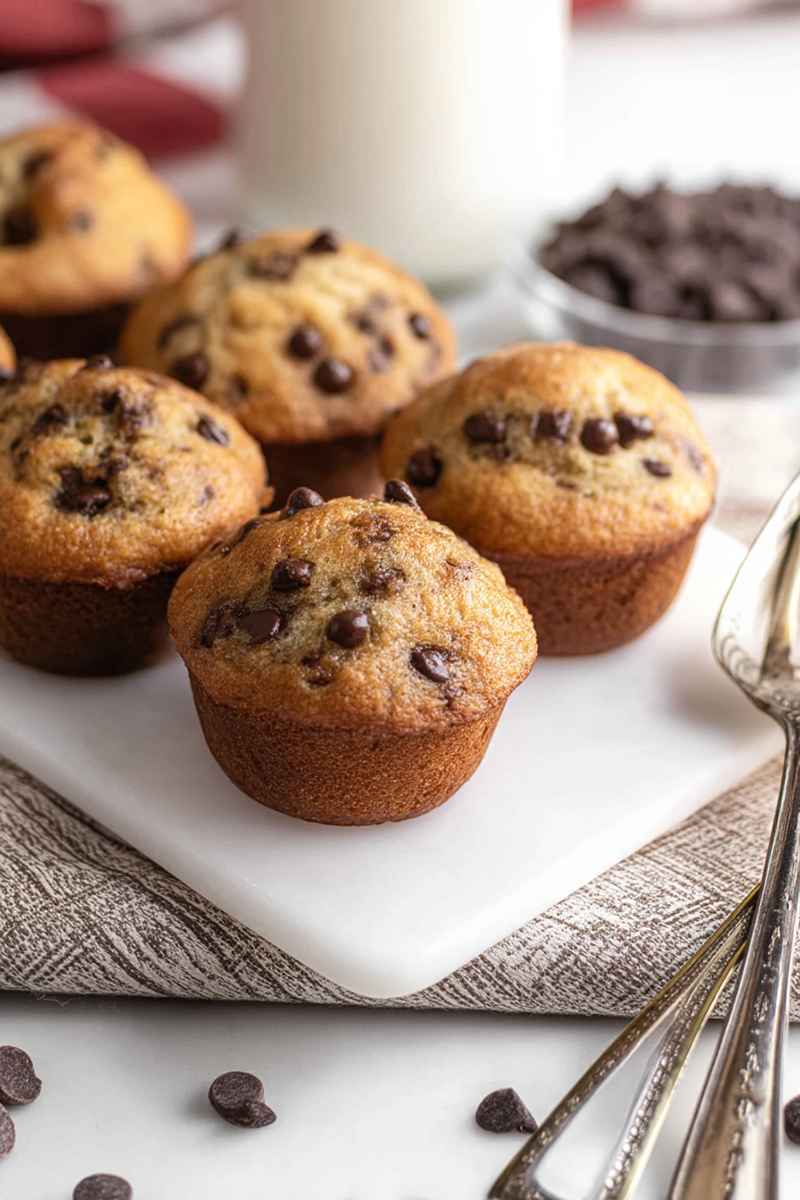
CHOCOLATE CHIPS: For this particular recipe, I find that mini chocolate chips work best. They distribute more evenly throughout the batter, ensuring you get a little bit of chocolate in almost every single bite. While you can certainly use regular-sized chocolate chips, they sometimes tend to sink towards the bottom during baking. If you use larger chips, a common tip to help prevent sinking is to toss them in a little bit of flour before you add them to the batter.
Now that we have gone over the ingredients, let us walk through the simple steps for making these amazing chocolate chip muffins. Remember, the full detailed instructions are available in the printable recipe card below.
How to Create These Wonderful Chocolate Chip Muffins
Here is a breakdown of the process, making it easy to follow along at home.
- First, prepare your dry ingredients. Get a large mixing bowl and add the flour, baking powder, baking soda, salt, and granulated sugar. Use a whisk to thoroughly combine them. Make sure everything is evenly distributed.
- In a separate bowl, you will mix the wet ingredients. Pour in the melted butter (make sure it is slightly cooled), the vegetable oil, eggs, buttermilk, and vanilla extract. Whisk these together until they are fully blended into a smooth mixture.
- Gently combine the wet and dry ingredients. Pour the bowl of wet ingredients into the bowl containing the dry mixture. Use a spatula to gently fold everything together. Stop mixing as soon as you see no dry flour spots. It is crucial not to overmix the batter, as this can result in tough muffins.
- Add in most of your chocolate chips now. Fold the majority of the mini chocolate chips into the batter using your spatula. Stir just enough to distribute them throughout the mixture. Remember to save a small handful of chips for topping.
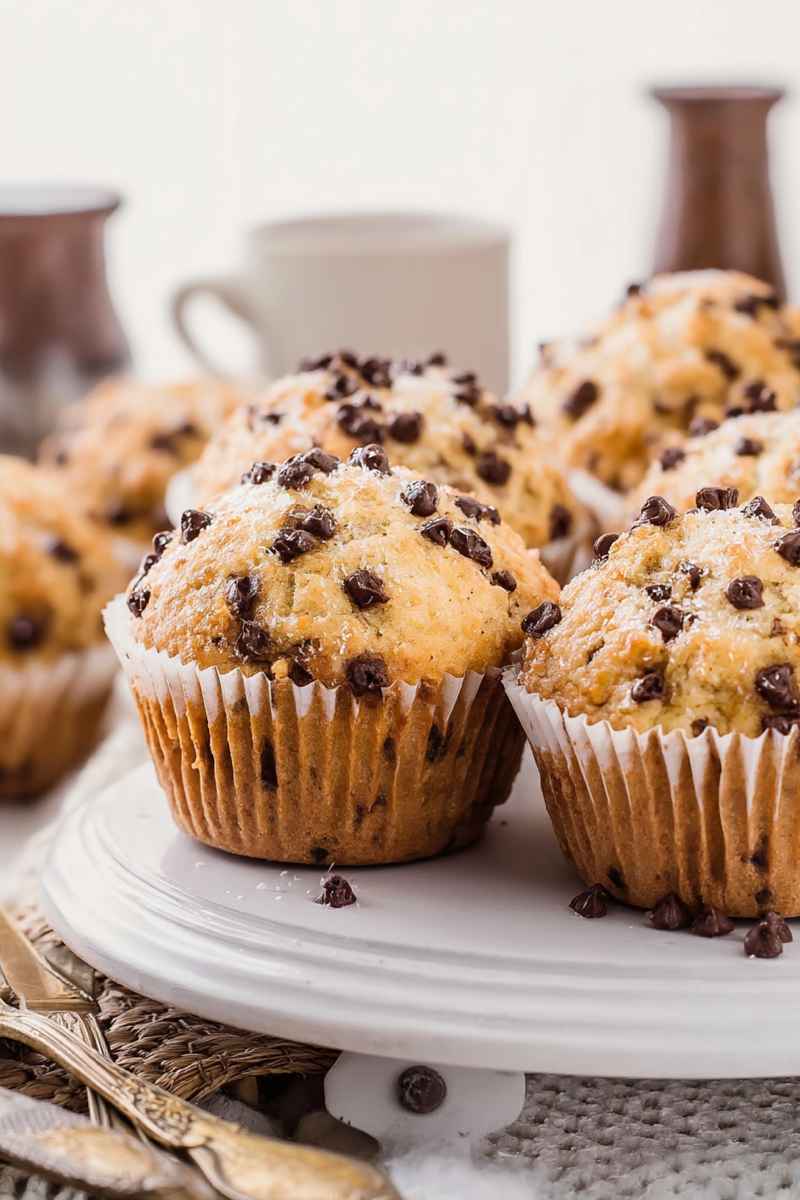
- Fill your prepared muffin cups generously. Use an ice cream scoop or a large spoon to transfer the batter into each muffin cup, filling them right up to the top edge. Filling them completely is the key to achieving those beautiful tall, domed muffin tops just like you see in bakeries.
- Finish them with toppings. Sprinkle the extra mini chocolate chips you saved over the top of the batter in each muffin cup. Add a generous pinch of coarse sugar onto each one as well. This gives them that classic bakery appearance and a lovely slightly crunchy top.
- Time to bake. Place your filled muffin tin into the oven preheated to 425° Fahrenheit for the first 5 minutes. After those initial 5 minutes, reduce the oven temperature down to 350° Fahrenheit without opening the oven door if possible. Continue baking for another 15 to 17 minutes. You will know the muffins are finished baking when they look golden brown and a toothpick inserted into the center of a muffin comes out clean.
Letting them cool slightly in the pan for a few minutes before moving them to a wire rack is also important for the perfect texture.
Caring for Your Delicious Leftovers and Proper Storage
These muffins are so good, you might not have many left. But if you do, here is how to keep them fresh.
STORE: Your cooled muffins should be stored in an airtight container. You can keep them at room temperature for about three days. They truly stay wonderfully moist. If you need to keep them longer, storing them in the refrigerator can extend their freshness for up to a week. For the best texture when eating refrigerated muffins, allow them to come back to room temperature first.
FREEZE: To freeze the muffins, place them in a freezer-safe bag or container. They will keep well in the freezer for up to three months. When you are ready to enjoy one, you can let it thaw at room temperature or quickly warm it up in the microwave for around 30 seconds.
REHEAT: If you want that warm, fresh-from-the-oven feeling again, you can pop a muffin into the microwave for about 10 to 15 seconds. For a top that is a bit crispier, you can heat them in an oven set to 300° Fahrenheit for approximately five minutes.
MAKE AHEAD: You can easily get a head start by mixing the batter the night before. Store the prepared batter in the refrigerator overnight. Before baking the next morning, give the batter a gentle stir, then scoop it into your muffin cups and bake as directed. This is a fantastic way to have warm, fresh muffins ready relatively quickly in the morning.
Ideas for Serving Your Chocolate Chip Muffins
These muffins are versatile and pair well with many things.
MORNING COFFEE: Enjoying these bakery-style muffins with a warm cup of coffee or tea is a perfect combination. The slightly crisp top and the melted chocolate work wonderfully with a hot drink.
FRESH FRUIT SALAD: Serving your muffins alongside a fresh fruit salad adds a light and refreshing contrast to their richness and chocolate flavor. Fruits like berries, melon, or citrus are especially good choices.
YOGURT PARFAIT: For a different take, you can crumble a muffin over Greek yogurt and drizzle some honey on top. This makes for a quick and satisfying breakfast or snack. The mix of textures is delightful in every bite.
Helpful Tips for Achieving Perfect Bakery-Style Muffins Every Time
Getting that professional bakery look and texture is easier than you might think with these simple tips.
START WITH A HOT OVEN: The initial blast of heat at 425° Fahrenheit for the first 5 minutes is key. This high temperature causes the batter to rise rapidly, helping to create that characteristic domed top you want. Reducing the temperature afterward allows the muffins to bake through completely without the tops burning.
FILL THE MUFFIN CUPS TO THE TOP: Unlike cupcakes, which you typically fill about two-thirds full, bakery-style muffins require you to fill the cups completely. Do not be shy about piling the batter high. This generous filling is what helps them achieve that impressive rise.
BALANCE MOISTURE AND STRUCTURE: The combination of using both melted butter and vegetable oil in this recipe is what gives these muffins both great flavor and a lovely soft, moist texture. Butter provides the rich taste, while the oil ensures they stay light and fluffy over time.
DO NOT OVER MIX THE BATTER: Overmixing is one of the most common reasons muffins turn out dense and tough instead of tender. Stir the batter gently until you no longer see any dry flour streaks. When you add the mini chocolate chips, just fold them in carefully.
USE AN ICE CREAM SCOOP FOR EVEN PORTIONS: Using an ice cream scoop ensures that you put a consistent amount of batter into each muffin cup. This helps all the muffins bake evenly and encourages them to develop that nice, uniform domed top across the entire batch.
USE MINI CHOCOLATE CHIPS FOR BETTER DISTRIBUTION: Mini chocolate chips are recommended because they spread out more evenly throughout the batter. This means you are likely to get chocolate in almost every bite. Regular-sized chips tend to sink more or clump together, leaving some bites without chocolate.
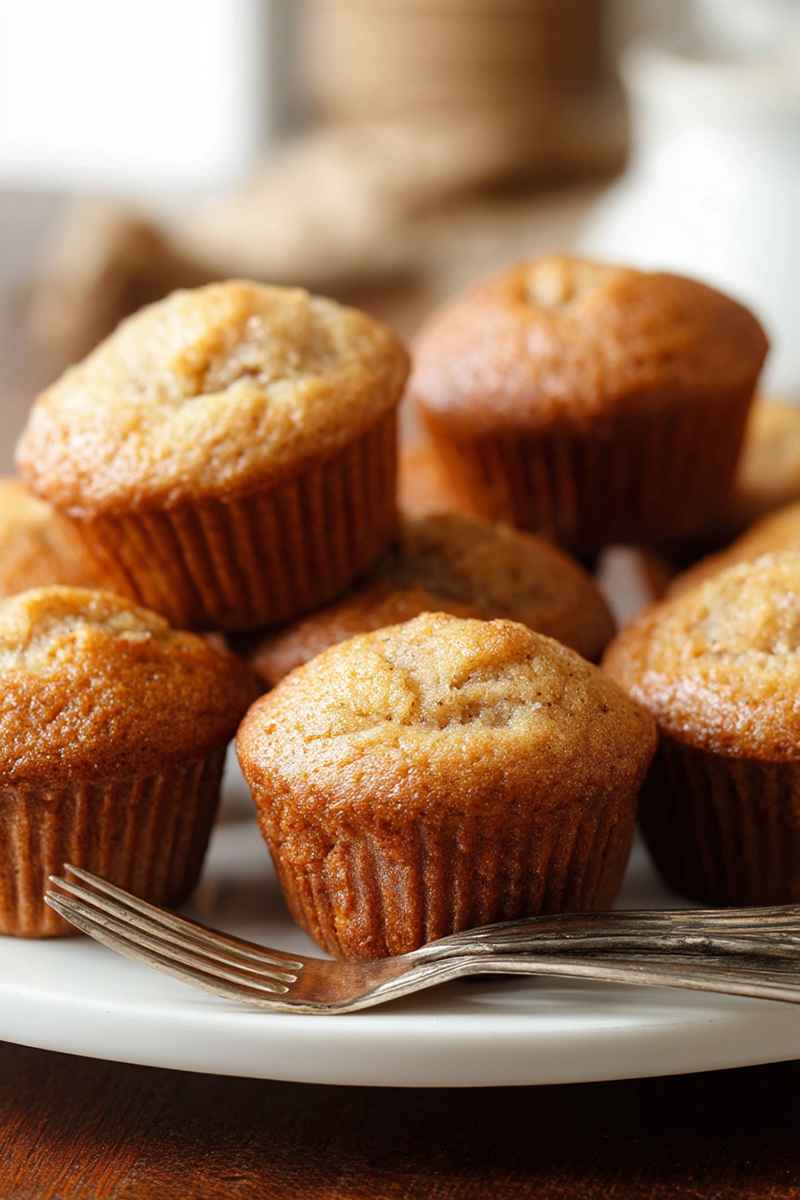
TURN THESE INTO MINI MUFFINS: If you prefer bite-sized treats, you can use a mini muffin tin instead. Line it with paper liners or spray it with nonstick spray. Scoop the batter into the mini cups. You will bake these at 350° Fahrenheit for a shorter time, typically 10 to 13 minutes, or until a toothpick inserted into the center comes out clean. This recipe usually yields about 36 mini muffins.
Frequently Asked Questions About Chocolate Chip Muffins
Here are some answers to questions people often ask when making chocolate chip muffins.
You can easily make smaller muffins by using a mini muffin pan. The baking time will be shorter, usually around 10 to 13 minutes, and you should bake them at 350° Fahrenheit. Just keep an eye on them. They are ready when a toothpick comes out clean. This recipe typically makes about 36 mini muffins.
Absolutely. Feel free to experiment with other additions. You could try chopped nuts, shredded coconut, small pieces of dried fruit, or even a bit of orange zest to change the flavor profile.
Dense muffins are often caused by over-mixing the batter. Mixing too much develops the gluten in the flour, leading to a tough texture. Another reason can be using too much flour, which happens if you scoop directly from the flour bag instead of spooning it into your measuring cup and leveling it off.
While you technically could, I would not recommend it. The muffins would likely not have the same rich flavor. Butter adds a depth of taste that oil alone cannot replicate. Using both butter and oil gives you the best balance of moisture and flavor.
For a crispier top, try baking the muffins on the upper third rack in your oven. This position gives the tops more direct heat. You can also brush the tops with a little melted butter before you add the sugar topping for extra crunch and flavor.
Yes, you can substitute regular milk, but the texture of the muffins might be slightly different. Buttermilk adds tenderness and a unique flavor that is hard to match. If you do not have buttermilk, a quick substitute is mixing 1 cup of milk with 1 tablespoon of lemon juice or vinegar and letting it sit for about 5 minutes before using it.
Starting at a higher temperature creates a burst of steam during the first few minutes of baking. This steam forces the muffins to rise quickly and helps them form that desired tall, domed shape that is characteristic of bakery muffins. Lowering the temperature afterward ensures they bake through properly without the tops burning.
Chocolate Chip Muffin
- Prep Time: 15 minutes
- Cook Time: 20 minutes
- Total Time: 35 minutes
- Yield: 12 servings
- Category: Muffins
- Method: Oven
Description
These Chocolate Chip Muffins are incredibly moist and bakery-style perfection packed with rich chocolate flavor! You will love how soft they are and how they stay fresh for days, making them ideal for any time you crave a sweet treat!
Ingredients
- 2 ½ cups (320 grams) all-purpose flour
- 1 teaspoon (5 grams) baking powder
- ½ teaspoon (2 grams) baking soda
- ½ teaspoon (3 grams) fine sea salt
- 1 cup (200 grams) granulated sugar
- ½ cup (120 grams) unsalted butter, melted and slightly cooled
- ¼ cup (60 ml) vegetable oil
- 2 large (about 100 grams) eggs, at room temperature
- 1 cup (240 ml) buttermilk, at room temperature
- 1 tablespoon (15 ml) pure vanilla extract
- 1 ½ cups (270 grams) mini chocolate chips, divided
- 2 tablespoons (25 grams) coarse sugar, for topping (optional)
Instructions
- Get the oven ready. Set the temperature to 425° Fahrenheit. Prepare a muffin tin. Line it with paper liners or lightly grease the cups with nonstick spray.
- In a large bowl, mix together the flour, baking powder, baking soda, salt, and sugar. Whisk them until they are well combined.
- In a separate bowl, mix the wet ingredients. Whisk the melted butter, vegetable oil, eggs, buttermilk, and vanilla extract until they are fully blended.
- Pour the wet ingredients into the bowl with the dry ingredients. Gently fold everything with a spatula. Stop mixing as soon as they are just combined. Do not mix too much. Add most of the mini chocolate chips and fold them in. Keep a small amount of chips to sprinkle on top later.
- Fill each muffin cup all the way to the top. Use an ice cream scoop or a large spoon to do this. Filling them generously helps create tall, fluffy muffins.
- Add the finishing touches. Sprinkle the tops of the batter in each cup with the extra mini chocolate chips you set aside. Add a generous pinch of coarse sugar on top of each for that classic bakery look.
- Bake the muffins. Place the tin in the preheated 425° Fahrenheit oven for 5 minutes. After 5 minutes, lower the oven temperature to 350° Fahrenheit. Continue baking for another 15 to 17 minutes. The muffins are done when they are golden brown and a toothpick put into the center comes out clean.
- Let them cool slightly in the pan. Leave the muffins in the hot pan for 5 minutes after taking them out of the oven. Then, carefully move them from the pan to a wire rack to cool completely.
Notes
- Storage: Store cooled muffins in an airtight container at room temperature for up to 3-4 days. They stay wonderfully moist.
- Bakery Style: Filling the muffin cups full is key to getting tall, domed tops like those from a bakery. Don’t be shy with the batter
- Topping: The coarse sugar sprinkled on top adds a beautiful sparkle and a slight crunch that enhances the bakery feel.
Nutrition
- Serving Size: 1
- Calories: 415
- Sugar: 55g
- Sodium: 20mg
- Fat: 20g
- Carbohydrates: 55g
- Fiber: 6g
- Protein: 6g